- TOSIZE.fi
- Do it yourself
- DIY Projects
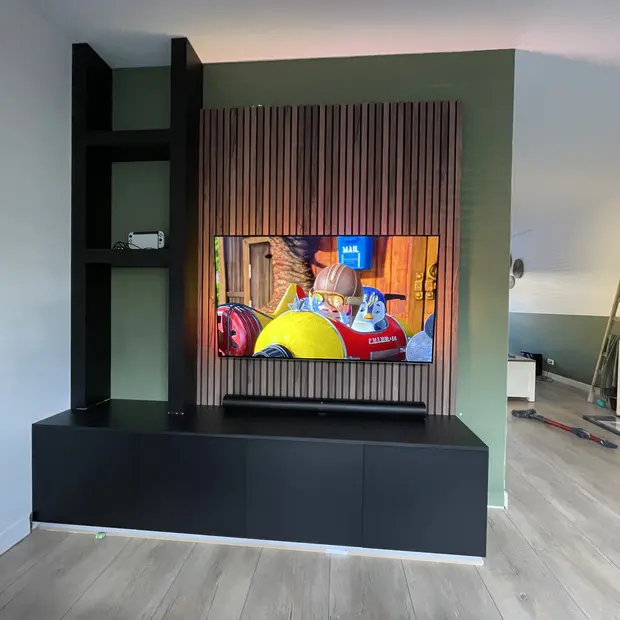
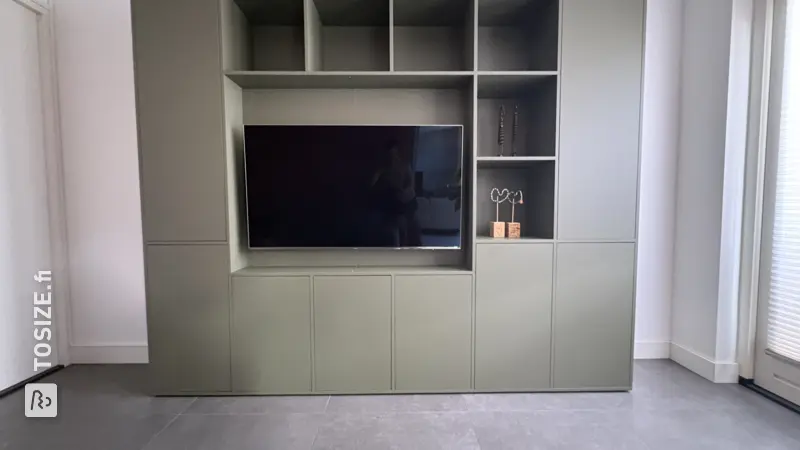
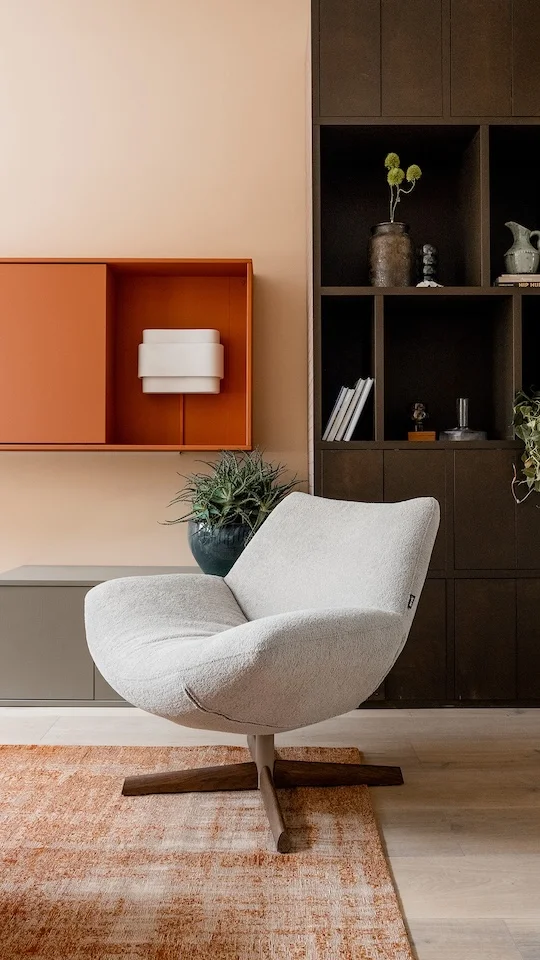
Black TV Wall Unit TOSIZE with spotlights, by Lisanne
Black TV Wall Unit TOSIZE with spotlights, by Lisanne
Make this furniture yourself using TOSIZE.fi
Lisanne
Average
7 minutes
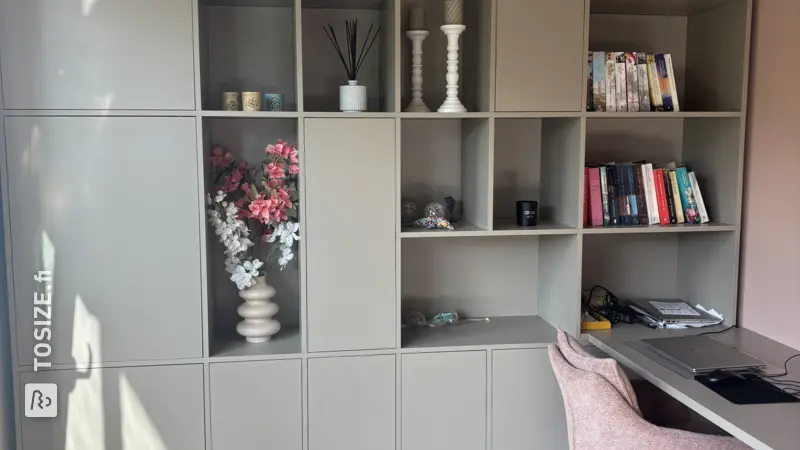
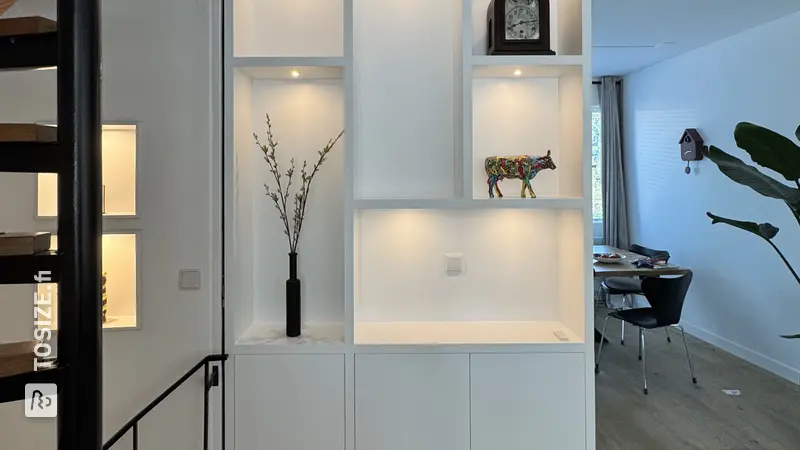
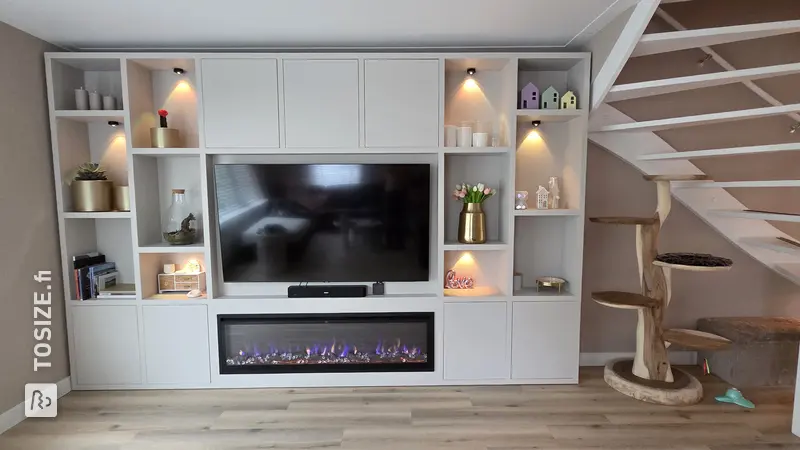
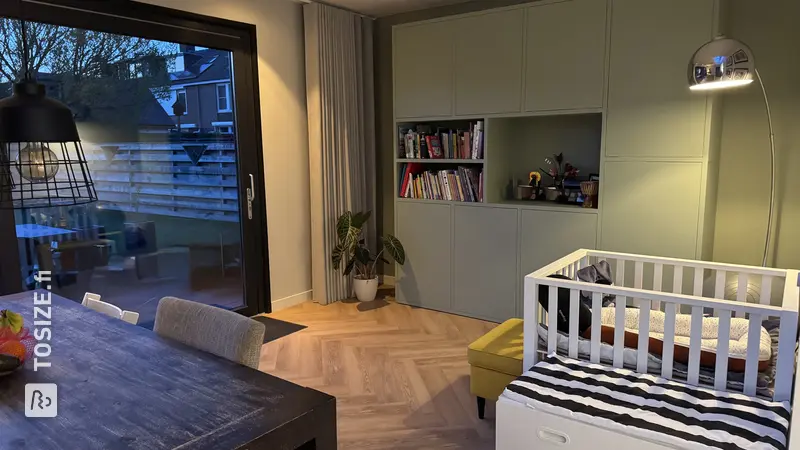
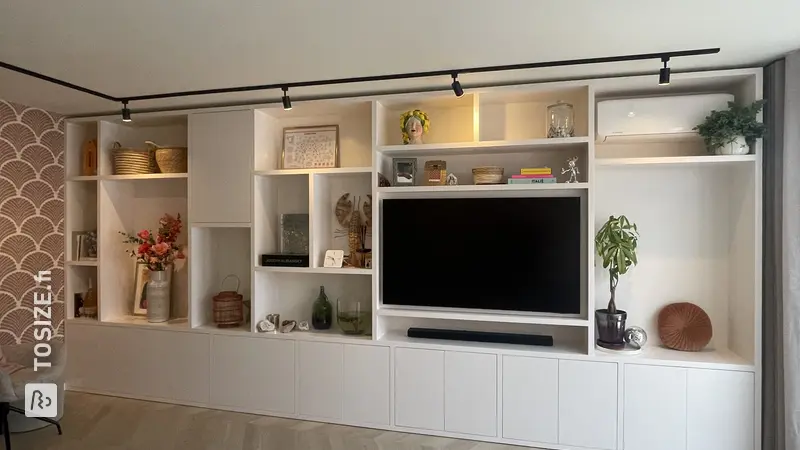
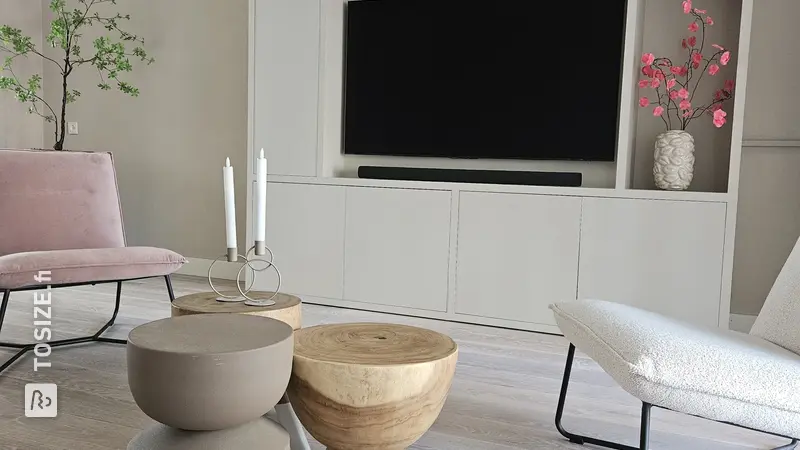
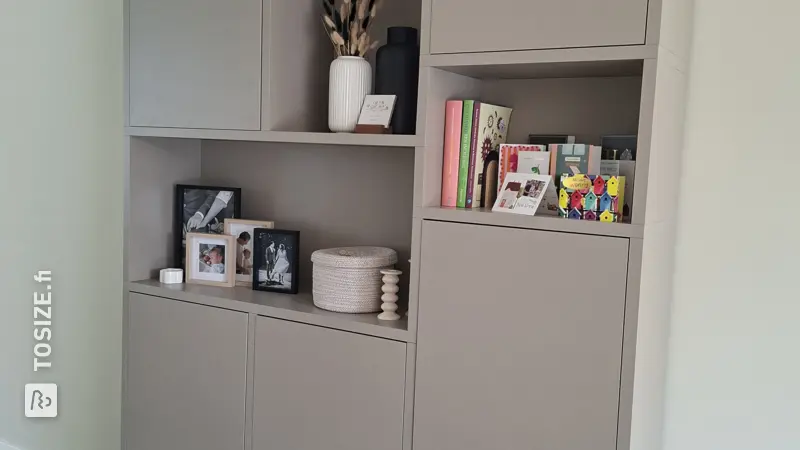
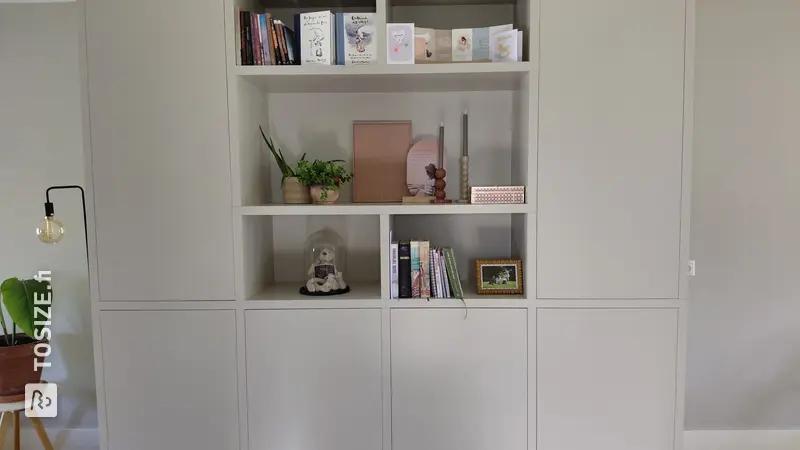
On this page, Lisanne shares her stylish DIY project of making a black TV wall unit with integrated spotlights. She provides detailed steps and useful tips to create this modern and functional piece of furniture. With her approach, Lisanne has created a contemporary and sleek TV wall unit, perfect for a streamlined entertainment space. Follow her steps and make your own black TV wall unit for a chic look in your interior.
Description of Lisanne
We would like a perfectly custom-made TV wall unit for our living room. Our wish list: everything custom-made, all boxes equipped with smart lighting, all boxes precisely made for our belongings, doors with soft close, a color of our choice, a hole big enough for our TV, holes in the right place for plugs and a further protruding bottom for elegance. After requesting quite a few quotes with astronomical costs, we decided to tackle this as a project ourselves. We are quite handy, but do not have all the necessary tools to carry out such a project from A to Z. TOSIZE.fi turned out to offer the perfect solution to realize our dream furniture with the TOSIZE tool. And we are very happy with the final result and have had a lot of fun with the creation process!
How I made this project
We first started with our wish list, as written above. Then we measured everything 100 times; the space where the furniture had to be placed, but also everything that had to fit in it. Please note: because of what we have done, you must take into account the removal of the top and bottom of the pillars. Based on that, we started sketching and started working with the TOSIZE tool. However, we ran into two problems: our TV was too large for the space that you could create in the tool and we wanted the bottom to protrude further than the rest of the furniture and that was not possible either.
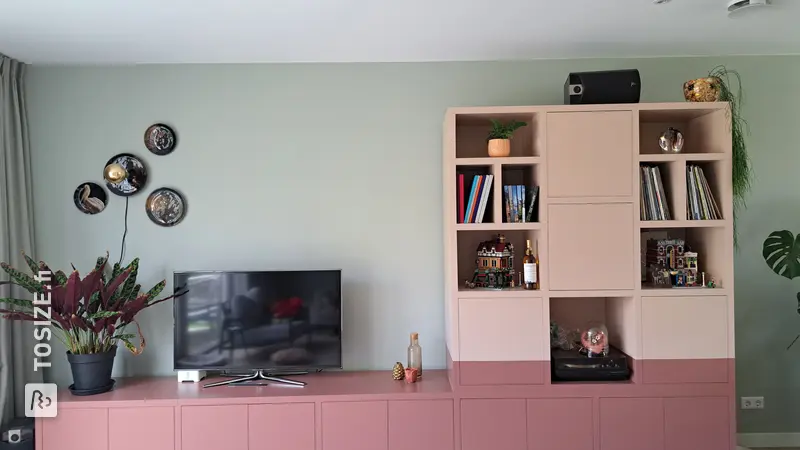
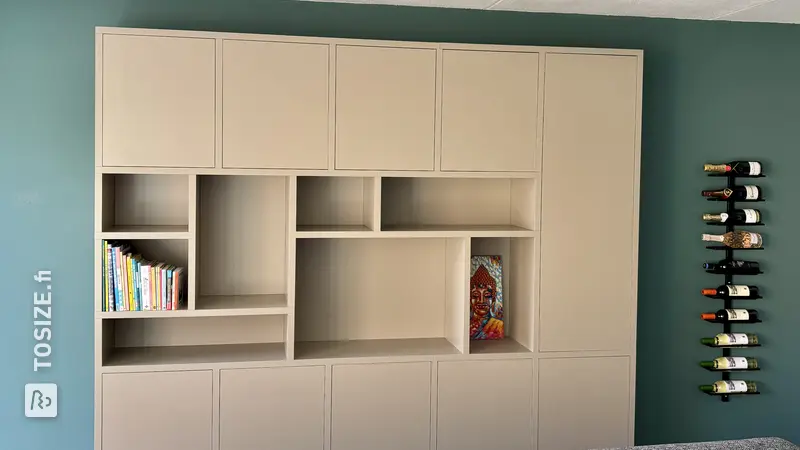
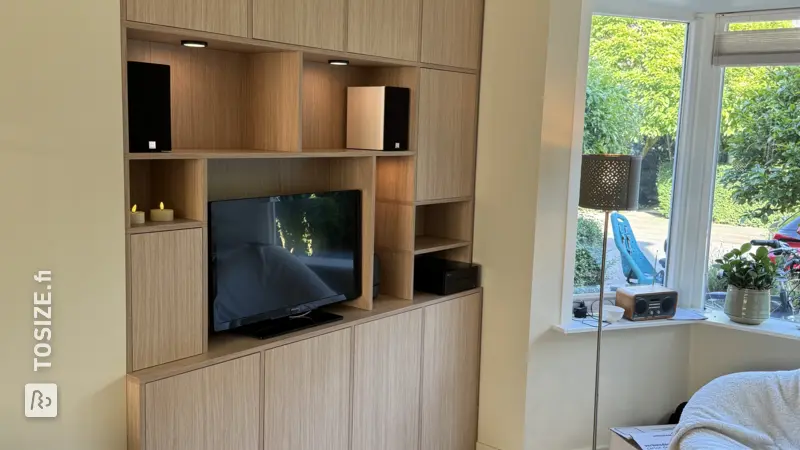
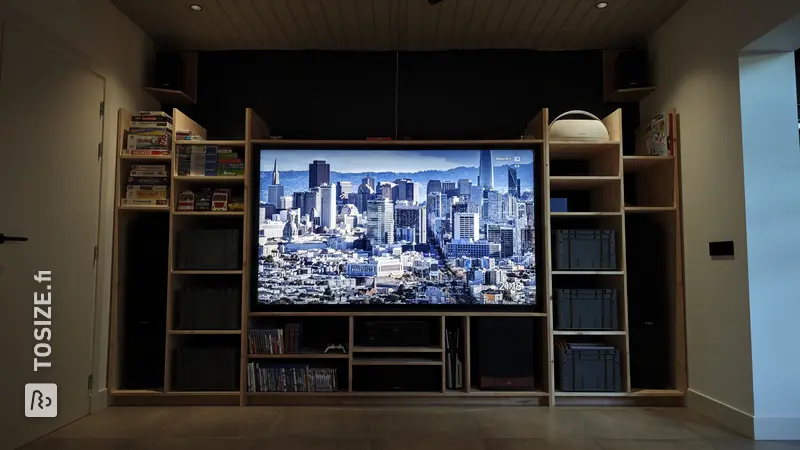
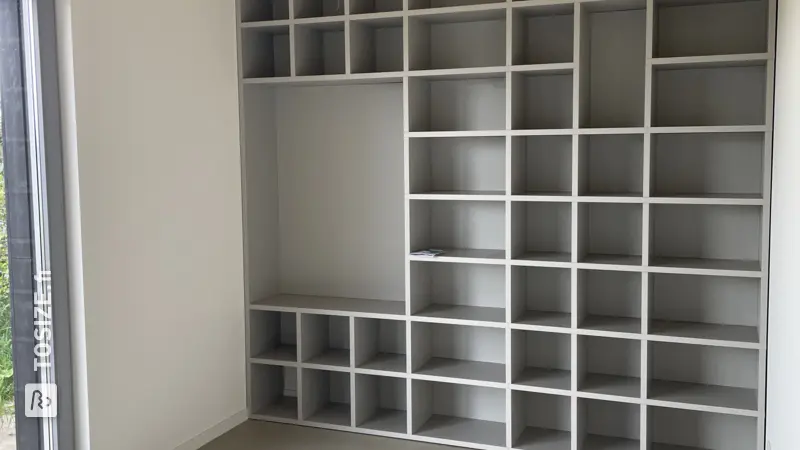
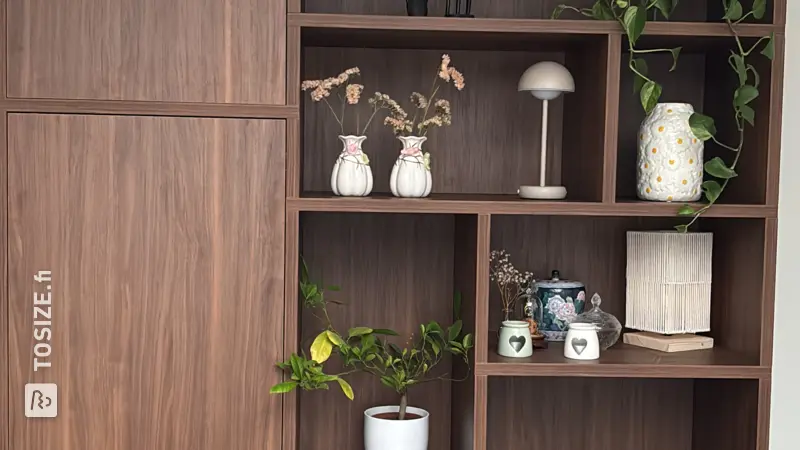
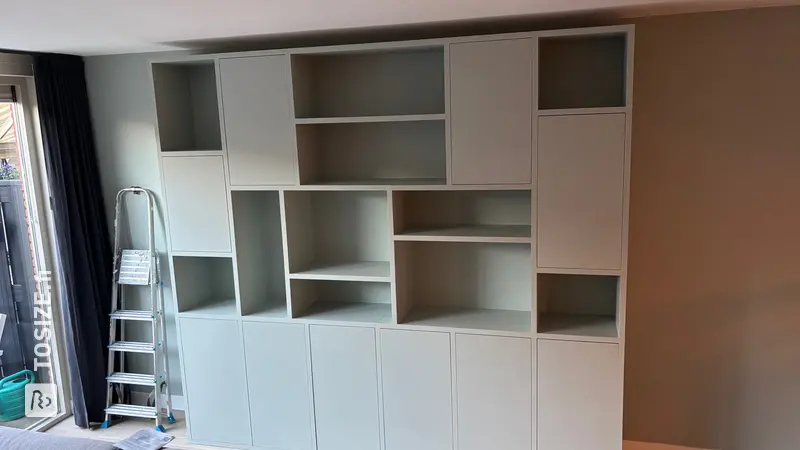
The solution: order 4 separate pieces of furniture and attach them together. You can see in the sketches and photos how the 4 separate parts look and how they ultimately came together into one whole. Entering everything into the tool was easy, but it did take some time because everything had to be very precise. When the order came in, we could finally get started. We will explain our step-by-step plan below. We have done quite a bit of work to make everything perfectly according to our wishes.Step 1: Sorting
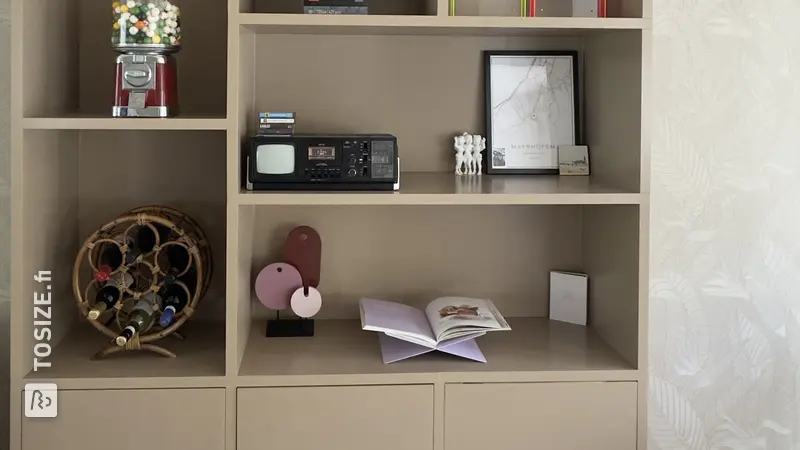
All the wood is placed on one palette and is grouped, but you have to properly organize what belongs to which part of the furniture. Saves a lot of space and time.
Step 2: Sand all pieces of wood separately and electrically.
This is a big job, but will save a lot of time later in the process. By doing it before everything was put together, it was a lot easier, more precise and could be done outside (also less mess).
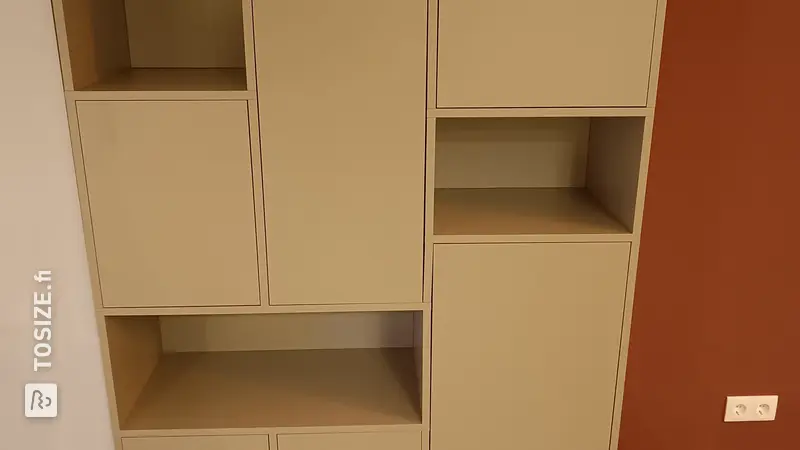
Step 3: Assembling the furniture.
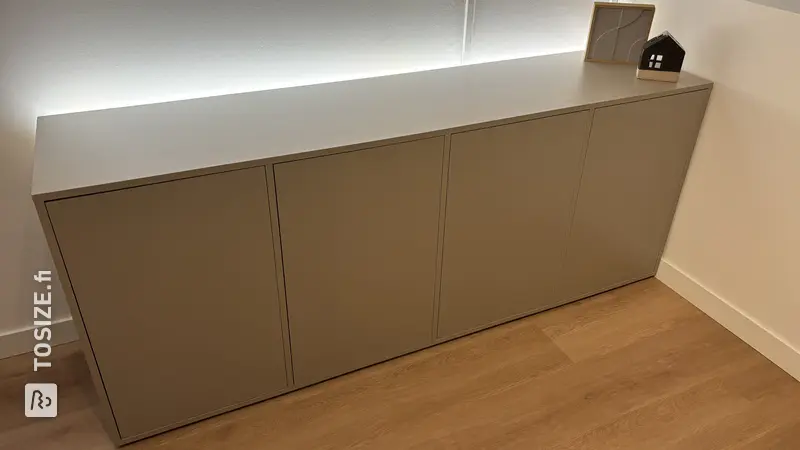
This was the easiest and fastest part of the whole process. Everything is numbered and the holes for the dowels are pre-drilled. With some supplied glue everything goes together perfectly. We started with the bottom unit, then the two pillars and finally the top unit. Please note: for an elegant effect we have omitted the bottom and top of the pillars. Otherwise it will look a little less smooth. You will have to saw away a small piece of the back of the furniture, otherwise the wood will stick out a bit too far to fit perfectly with the top and bottom unit.
Step 4: The four putting furniture together.
This requires some patience, thought and manpower. Since you left out the top and bottom of the pillars, they are not very stable. You must therefore attach them to the bottom with glue and let them dry thoroughly before you place the top unit on top. The top unit is quite heavy and the two of us lifted it onto it by always resting it on something higher before we continued lifting. You can also see photos of this. Once the glue on the pillars has dried properly, you can place the top unit on top.
Step 5: Reinforce everything on the back of the furniture.
With metal connections and screws We attached everything together at the back of the furniture for extra strength. You can simply buy it at Gamma.
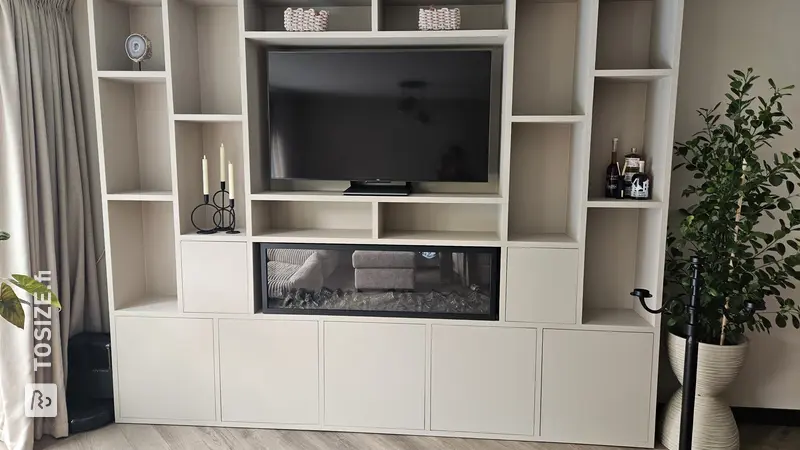
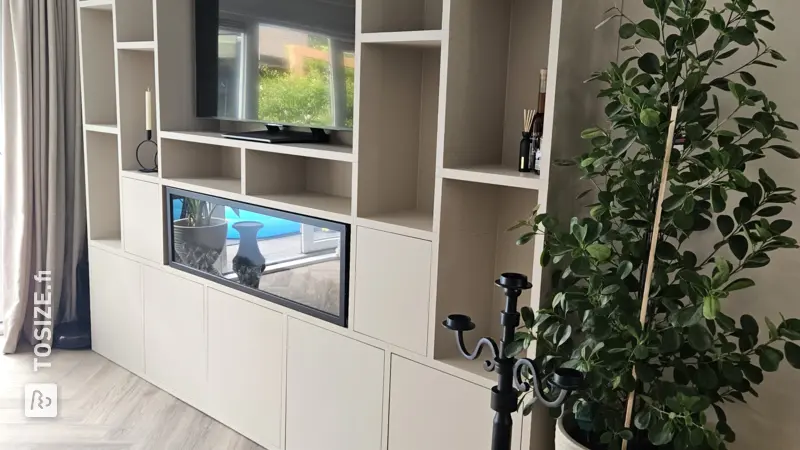
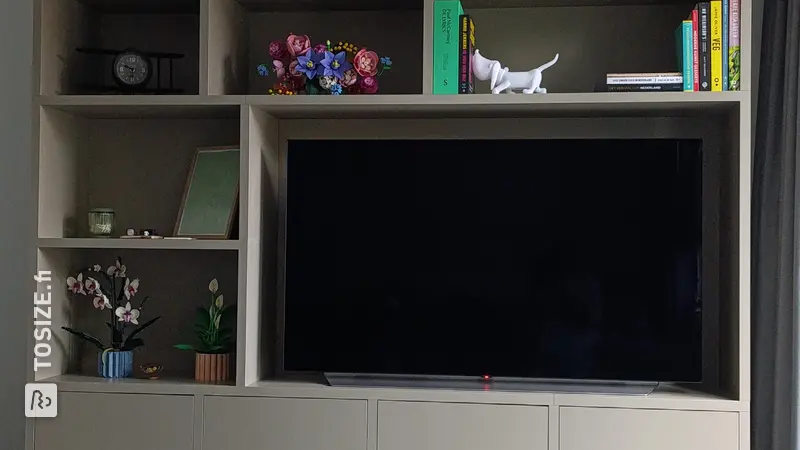
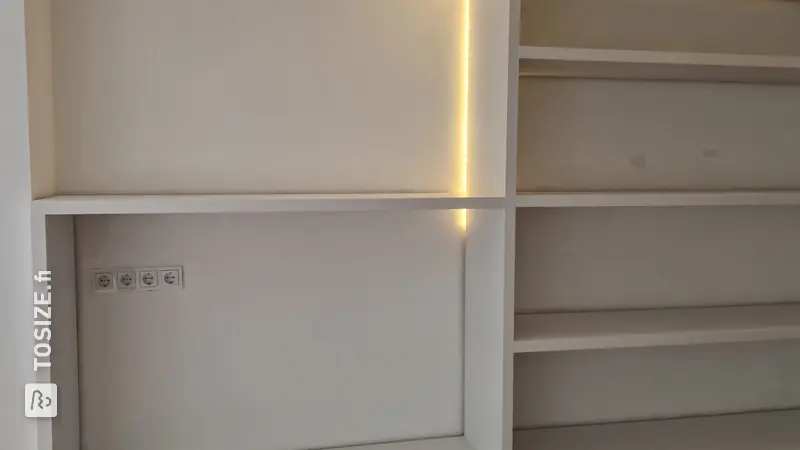
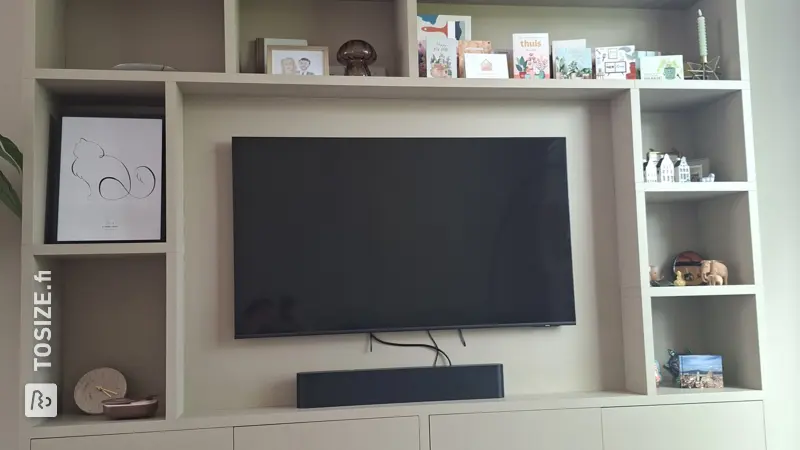
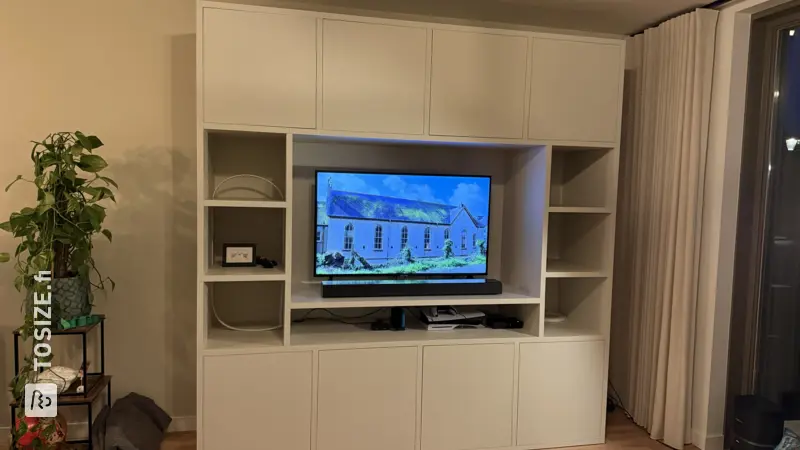
Step 6: Reinforce the TV niche
We have chosen to install a backboard where the TV will be located. You can also decide not to do this. Then you just see the wall. But we wanted this to be the same color. You can buy a few separate chipboards from Gamma and attach them together and then attach them to the back of the furniture.
Step 7: Fill all holes and seams and sand again.
For the best possible finish, we lubricated all seams with wooden filler and then sanded it again with a lot of patience. Before sanding, you also drill a hole for the wire in all the boxes where you want a spotlight. Sanding takes a while, but it is very worthwhile for the finish.
Step 8: Primer
For this we used the white interior primer from Gamma. Before you start painting, first wipe everything down so that there are no leftovers. We also properly taped off the inside of the cabinets and the ground. For the best finish, use a small paint roller for the large areas and a good round brush for the corners. We applied two layers of primer and in between you sand everything again with a lot of patience and wipe everything off with a cloth.
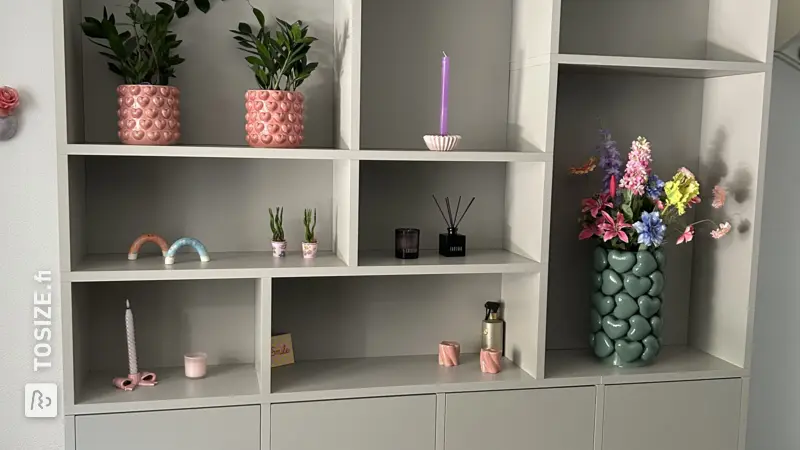
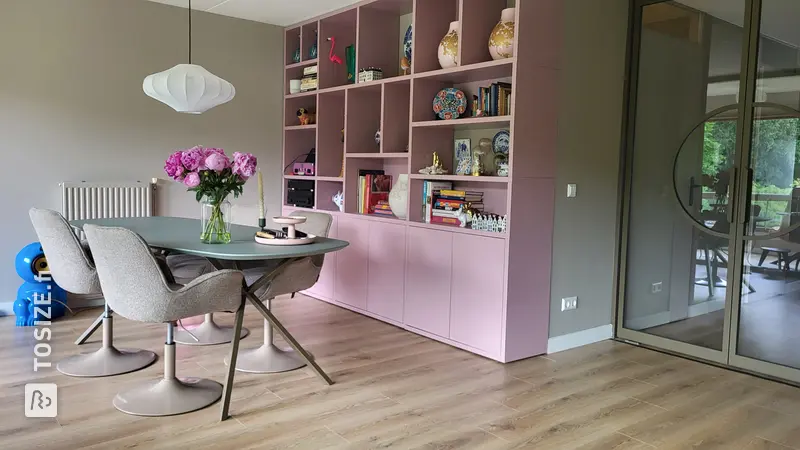
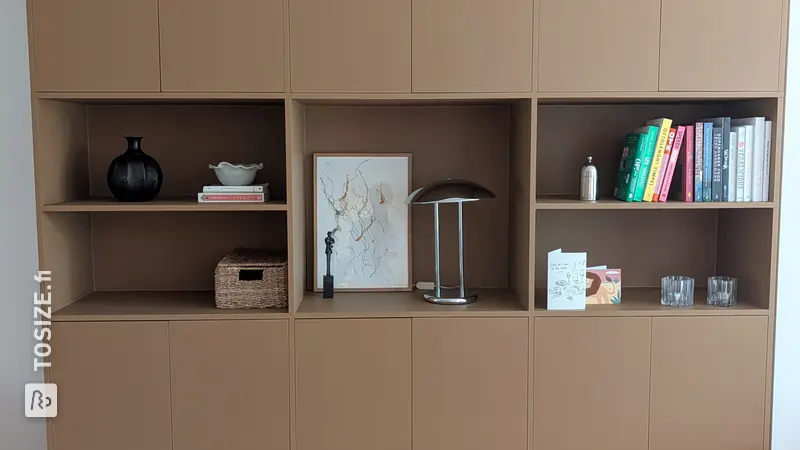
Step 9: Painting
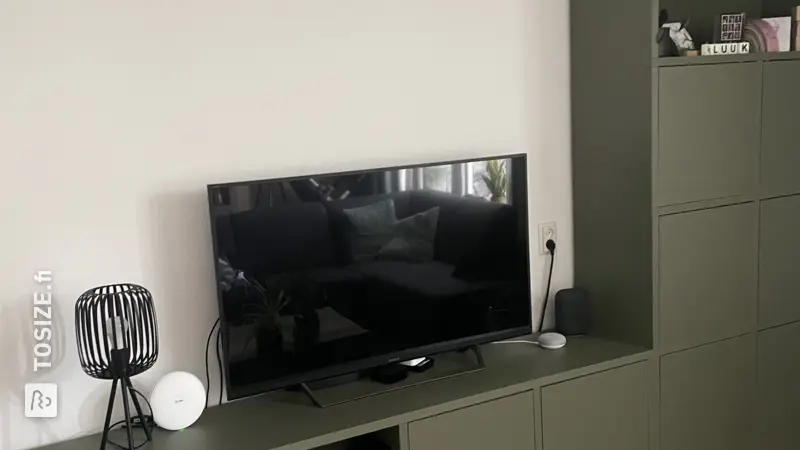
After sanding the last You can start painting the primer layer. We chose the color Green Smoke from the Farrow & Ball, the Estate Eggshell 2.5 liters. This was more than enough. You won't get it with the smaller pot size. We then painted four layers of paint and allowed enough time to dry in between.
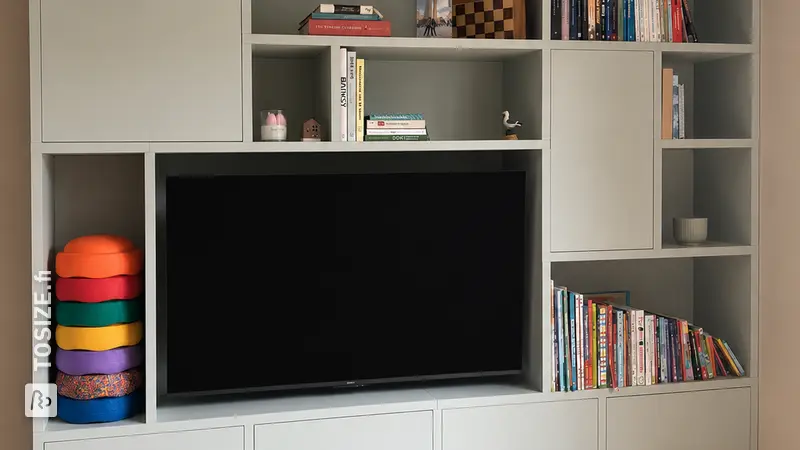
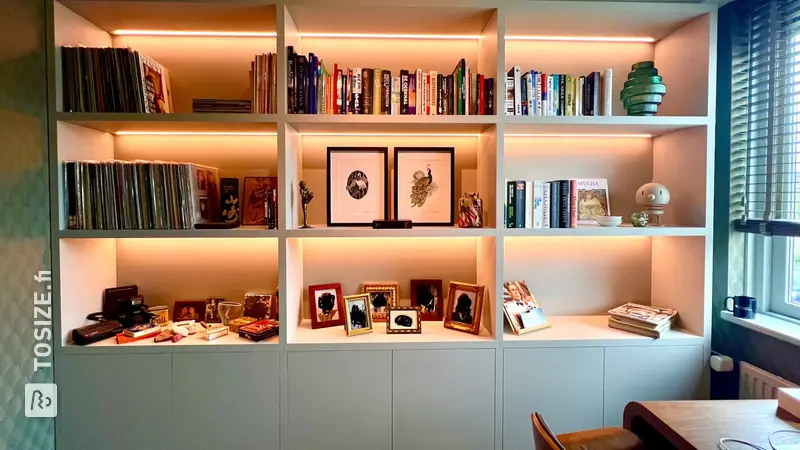
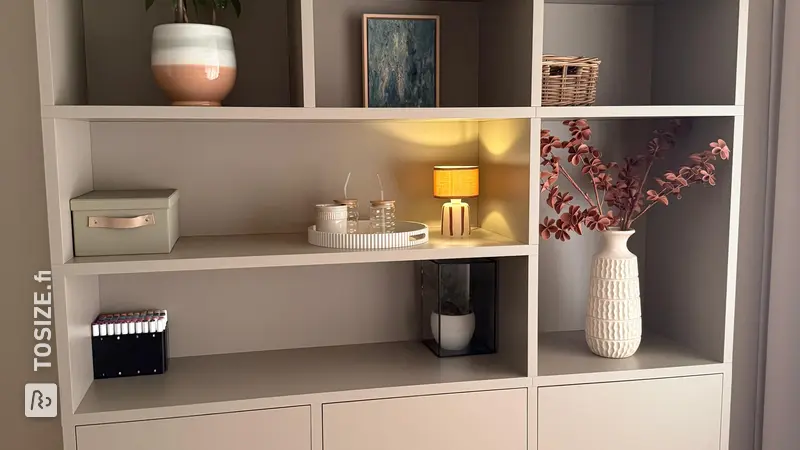
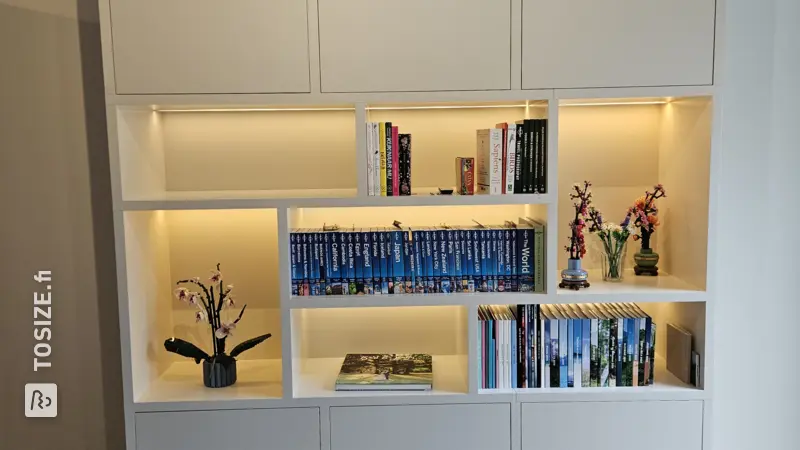
Step 10: installing lighting
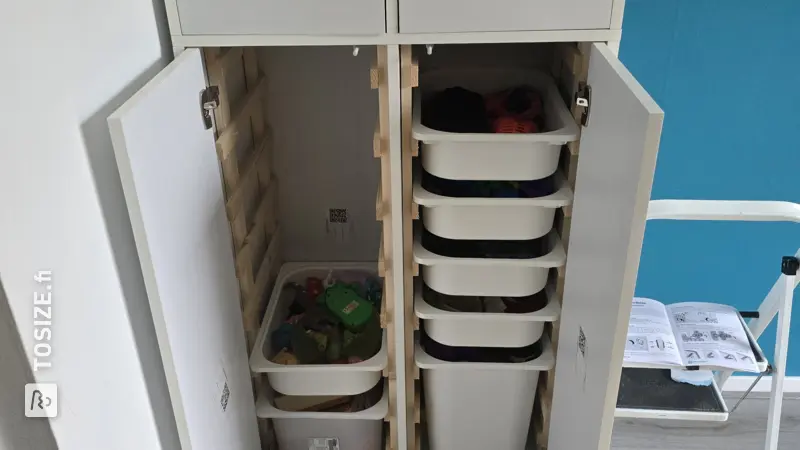
We opted for the smart spots from Ikea: the Mittled. You attach the spotlights where you drilled the holes according to the instructions and then ensure that all wires are properly attached to the back of the TV cabinet. We had one of the cabinets in the lower unit that had a power strip where all the wires ran and all the plugs came out of the furniture. We have done a lot of research into lighting options, but this is simple, effective and elegant.
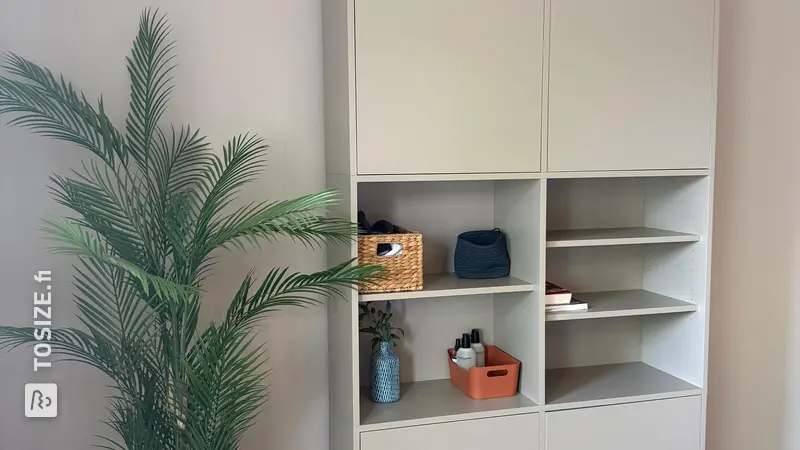
Step 11: Attach the doors to the cabinets
You do this last. But make sure that they last with every sanding and painting job. This saves a lot at the end.
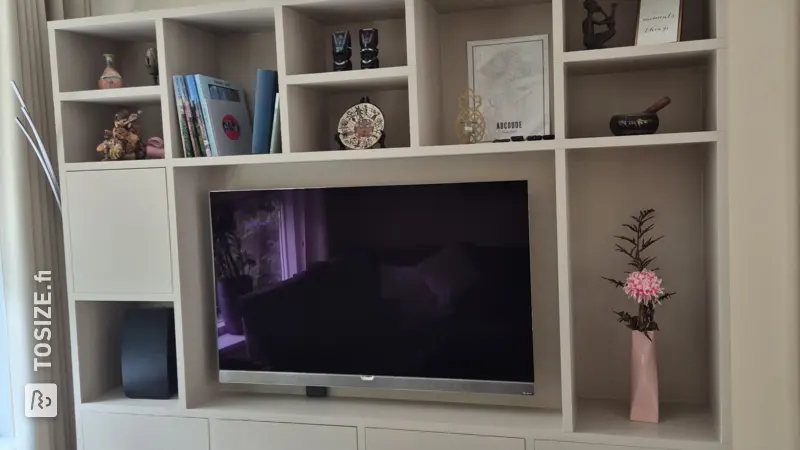
Step 12: Attach to the wall and put away :)
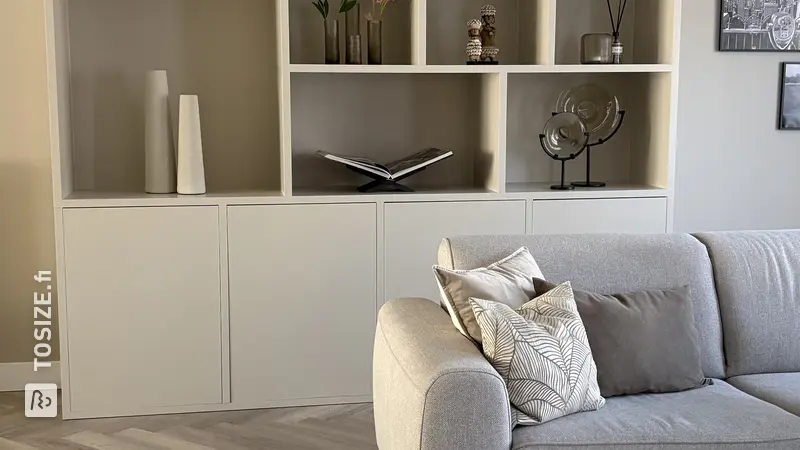
We are so very happy with the result! Actually, putting together the TOSIZE.fi packages was the easiest part of the whole process. For us, success came down to two things: taking a lot of time to plan/sketch the furniture and taking a lot of time to fill/sand/paint. In addition, the spots completed the whole story. There was no way we could have achieved the end result without the TOSIZE solution from TOSIZE.fi. It mainly took a lot of our own time, but anyone who can put together a stool can use this solution. All the work we have done on top of it is also feasible for the basic handyman. You just have to have the time and the inclination.
So in short: lots of DIY fun!
Dimensions of my DIY project
255.0 cm wide 232 .0 high and 50.0 cm deep
Tip! Download our handy TOSIZE Furniture checklist!
What now?
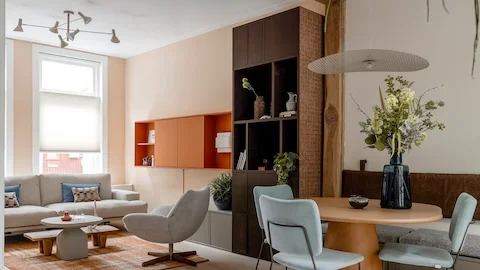
Do you want to create this DIY project? This piece of furniture is part of our TOSIZE Furniture collection. Design your personalized, custom-made furniture using our 3D configurator! Want more information? Learn more about available colors, assembly, or browse all frequently asked questions. You’ll receive a TOSIZE Furniture package, including an installation kit.
4 423,00 €
View all furniture