- TOSIZE.fi
- Do it yourself
- DIY Projects
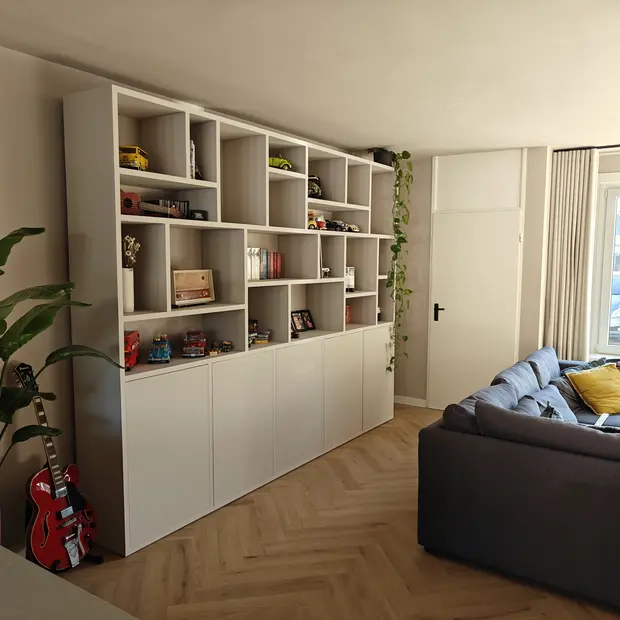
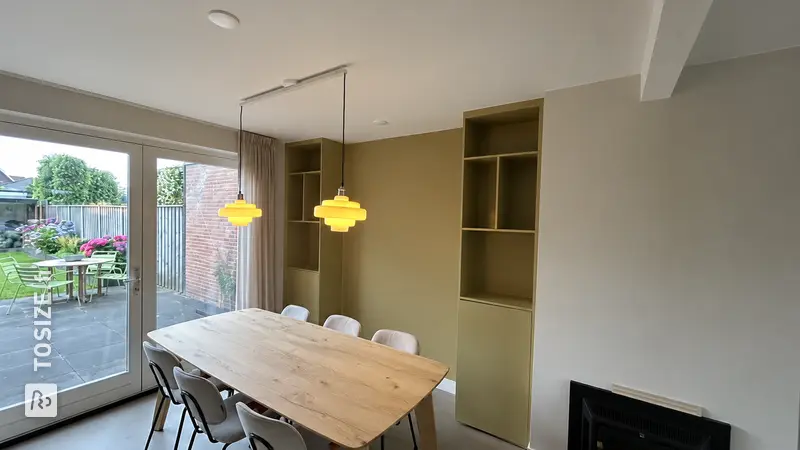
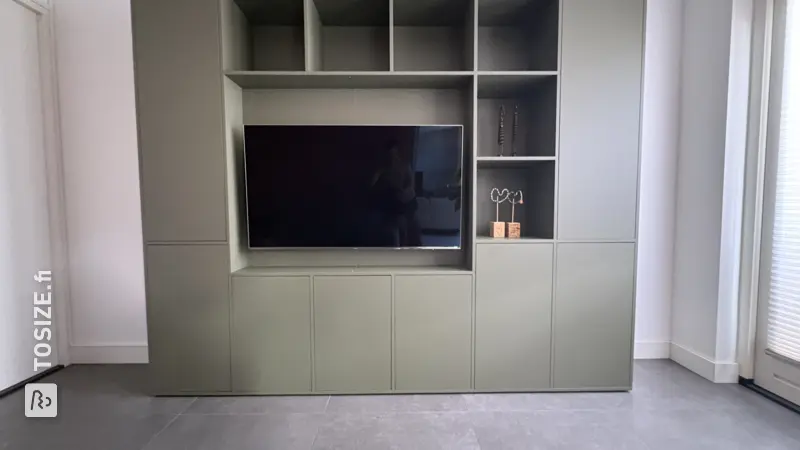
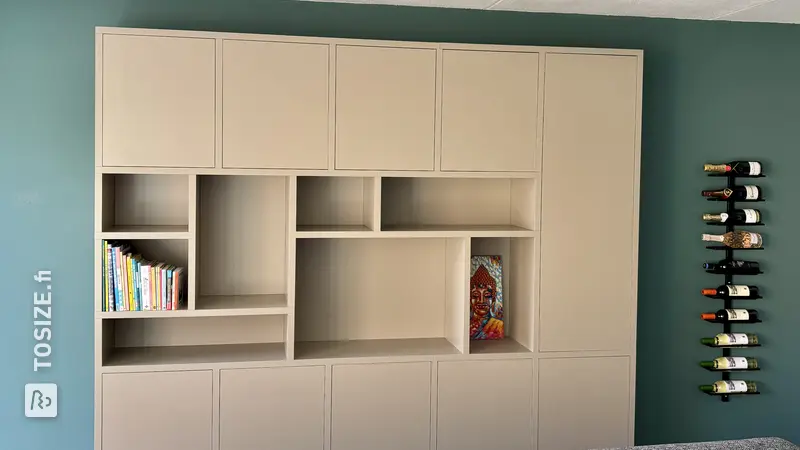
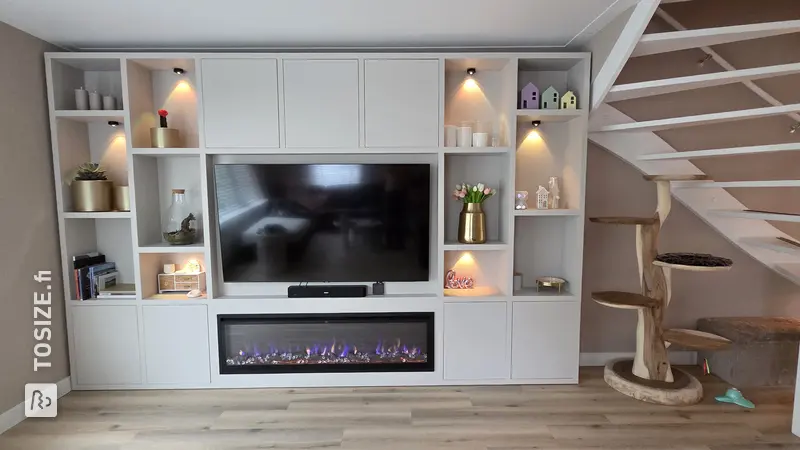
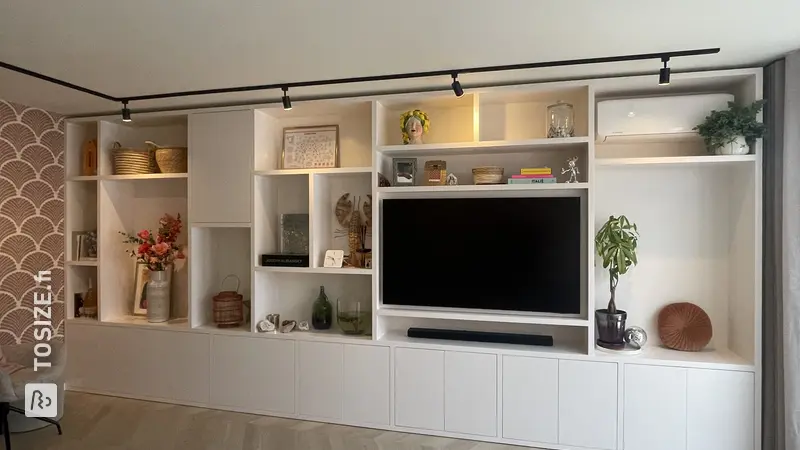
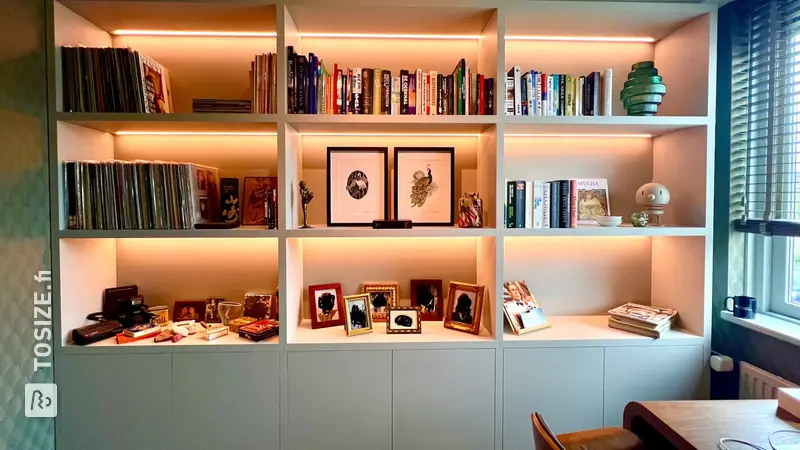
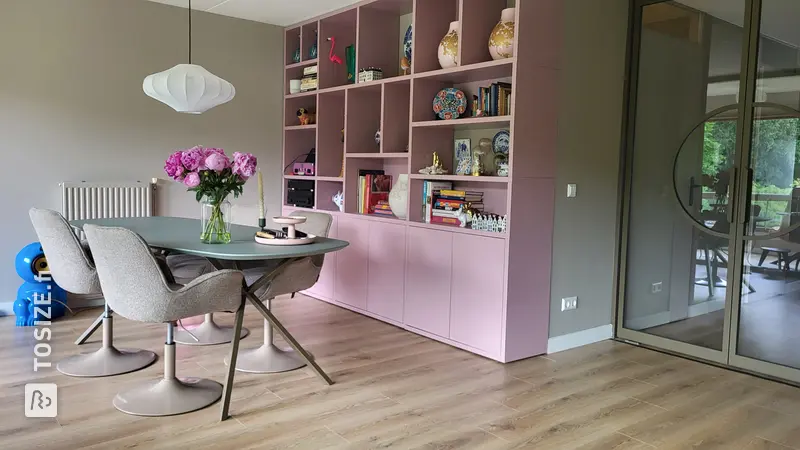
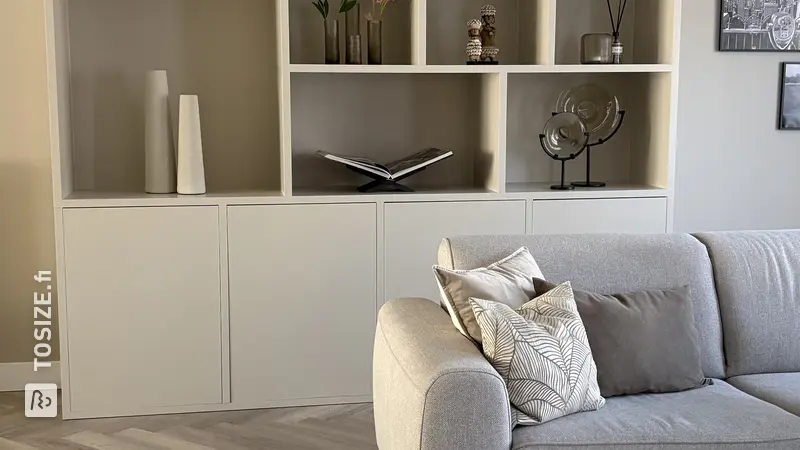
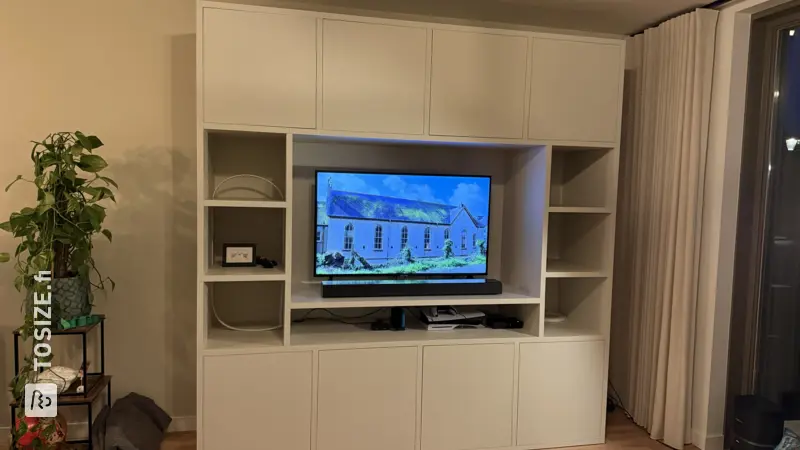
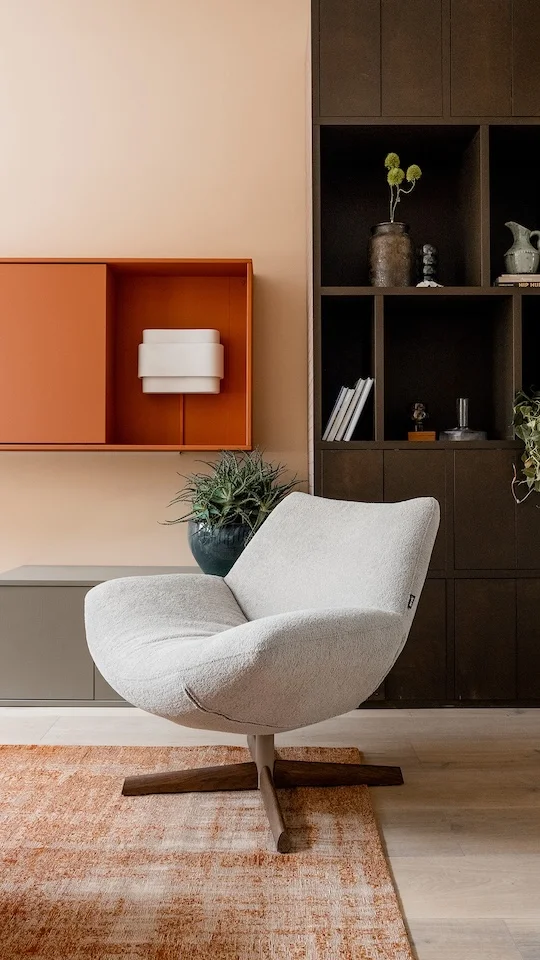
Large, wall-filling TOSIZE Furniture shelving unit, by Esther and Lars from Be Creative Shop
Large, wall-filling TOSIZE Furniture shelving unit, by Esther and Lars from Be Creative Shop
Make this furniture yourself using TOSIZE.fi
Esther
Easy
3 minutes
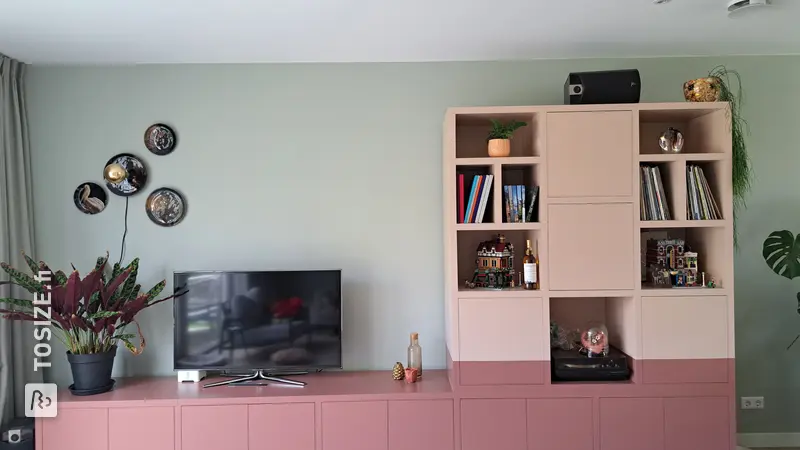
Esther and Lars from Be Creative Shop share their experiences in creating a striking wall-filling shelving unit with TOSIZE Furniture. Learn from their steps and be inspired by this project that is both functional and aesthetic.
Description of Esther and Lars
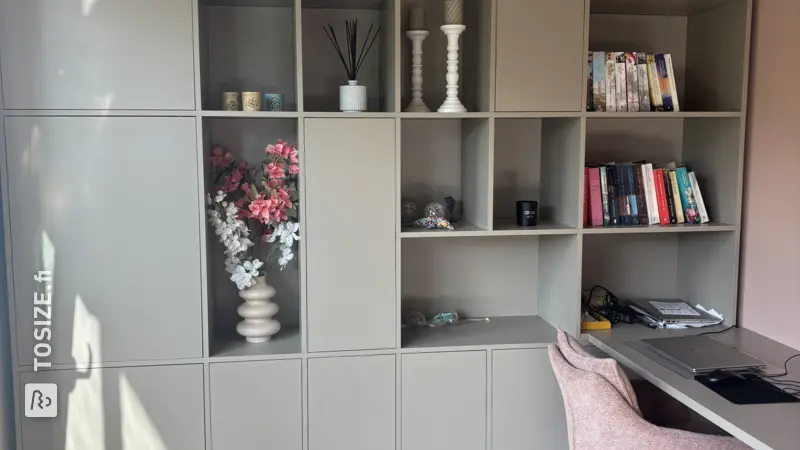
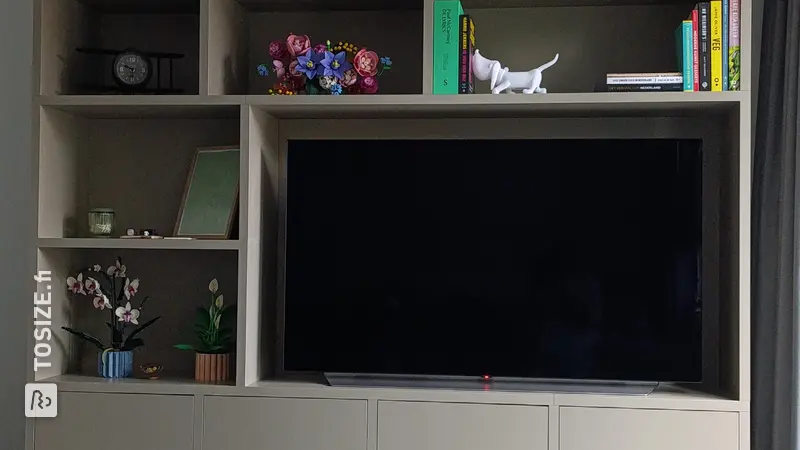
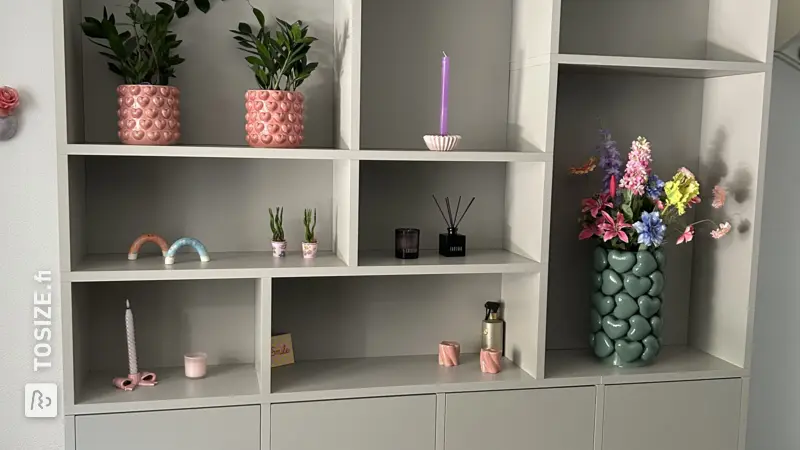
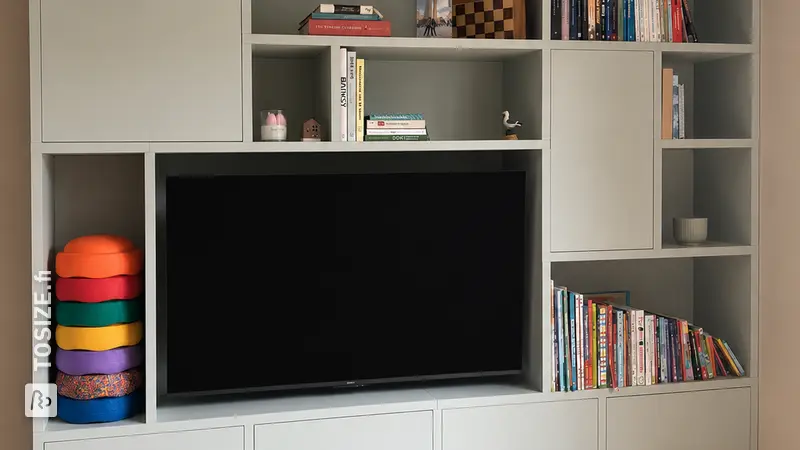
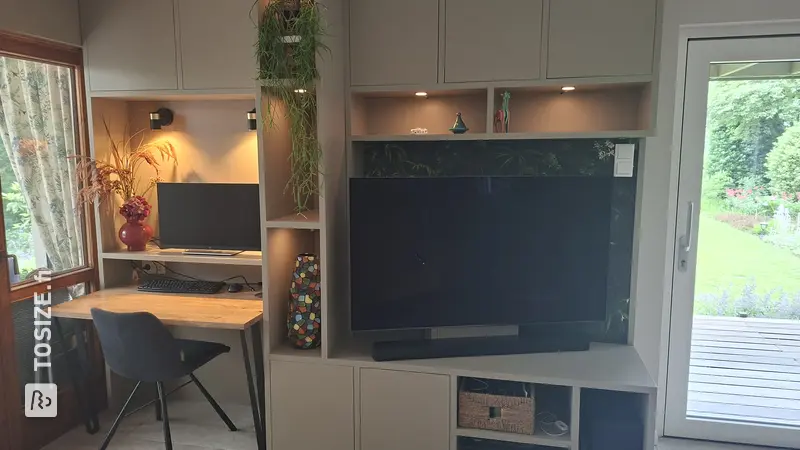
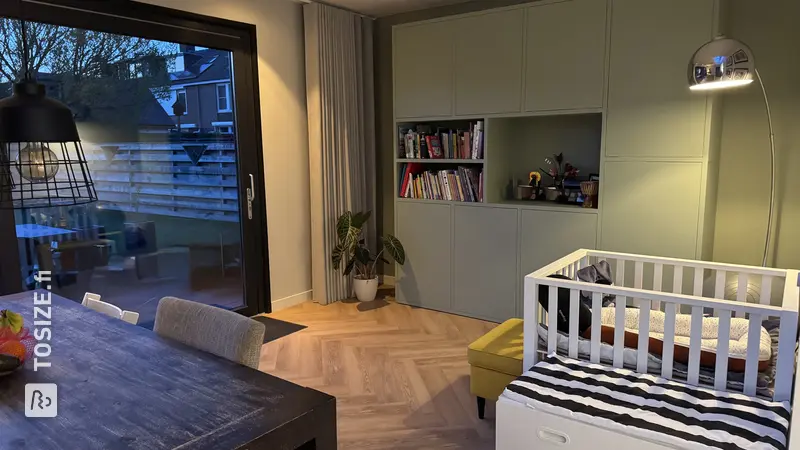
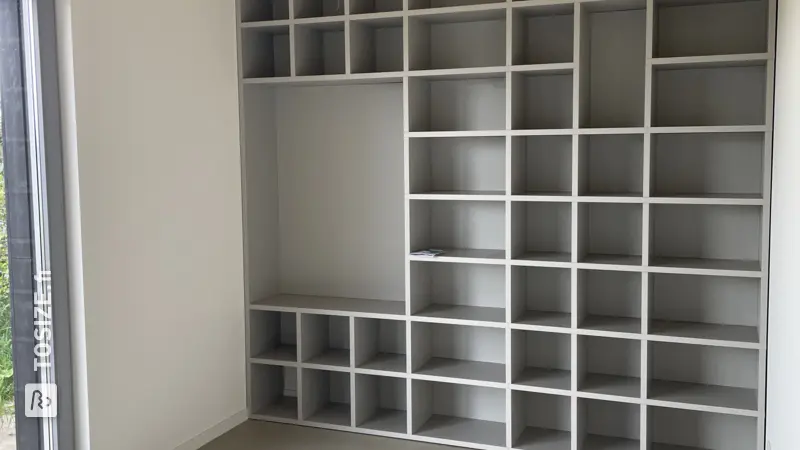
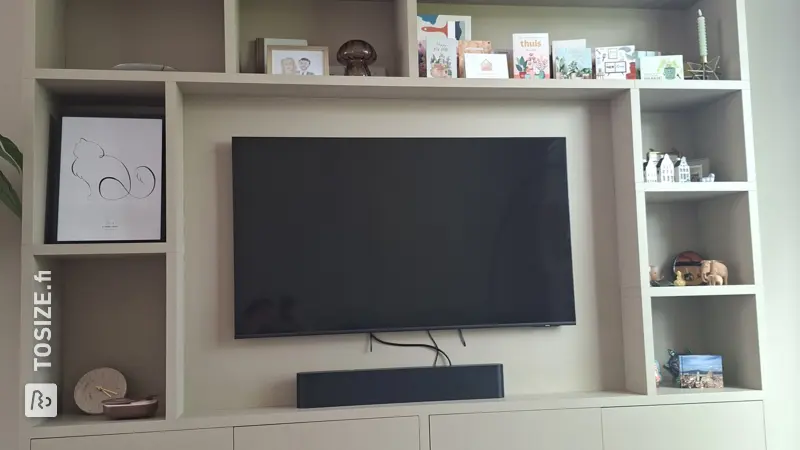
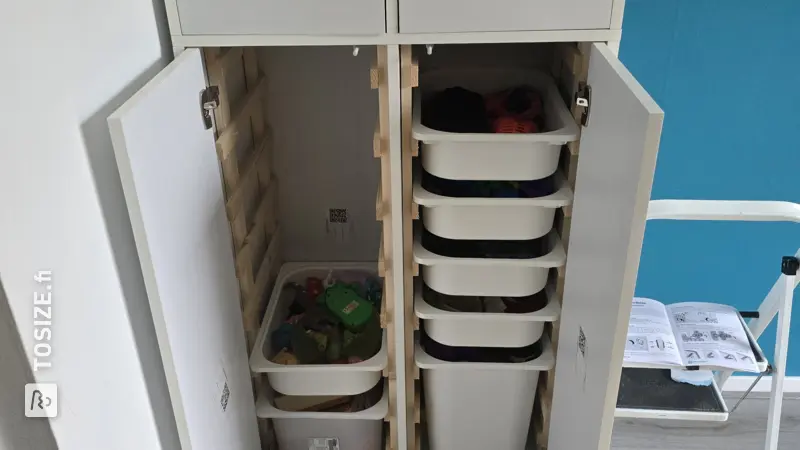
Esther and Lars have built a new office to accommodate their webshop to work. Here they really want a beautiful cupboard that is also functional: space for accessories but also compartments with doors for storage space. We succeeded!
How I created this project
Esther and Lars used the 3D configurator on the website to create the design. They thought this was a super fun process. They have created many different layouts and saved them in the shopping cart, so that they can look at them again the next day and make some adjustments. When they were out they ordered the cupboard. A few weeks later they received a large package with all the loose planks delivered to their home. They then completed the following step-by-step plan:
- It is very useful to sort all the planks in preparation, because this way you can quickly get started with building.
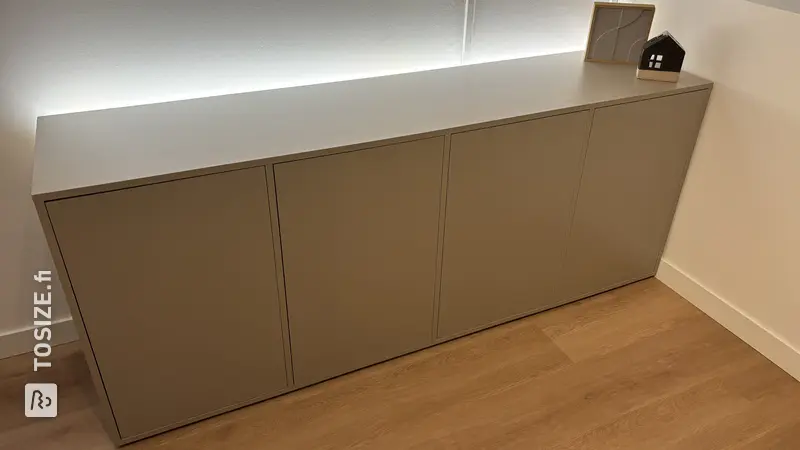
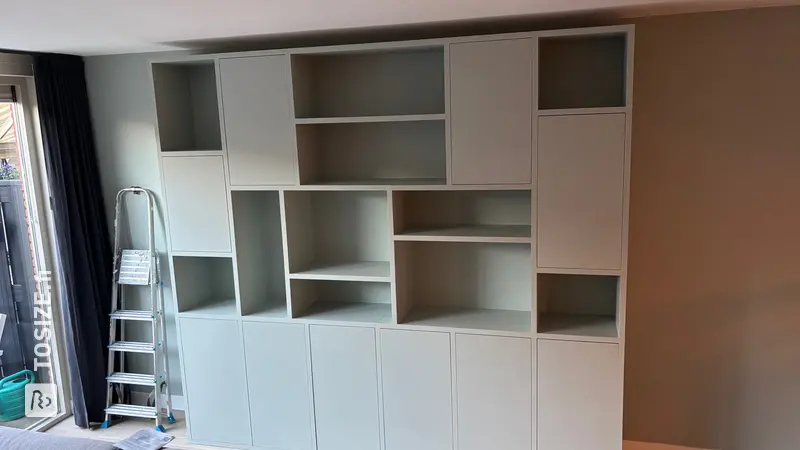
- The Building the cabinet itself went super fast! Because everything was in order, they were able to quickly lay down and level the bottom planks. Lars immediately made recesses here for the underfloor heating distributor and a socket.
- Then everything was built up from the bottom up. Very easy system because everything is already pre-drilled and all necessary accessories are included in the installation package.
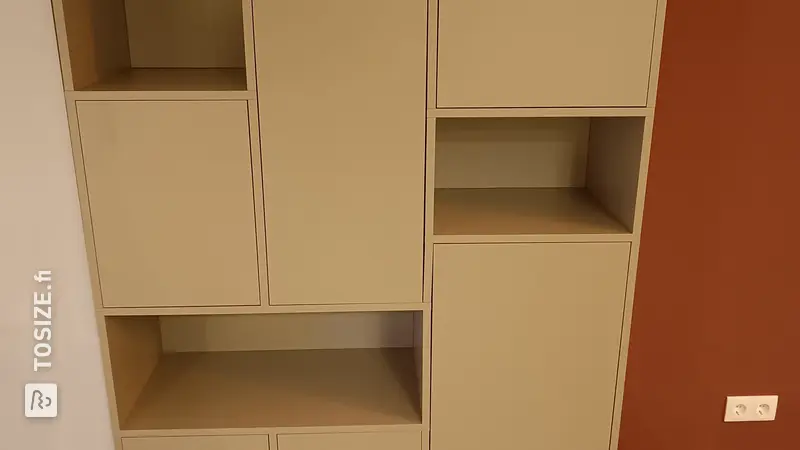
- Once the cabinet was assembled, Lars started priming the cabinet. He had not yet attached the doors, because this is more pleasant when painting. Because the end sides of the MDF are covered with a priming tape, this saves a lot of preparation time to reduce the absorbent effect of the end edges.
- Then it was time to paint the cabinet in the same color as the walls and install the ceiling and all doors.
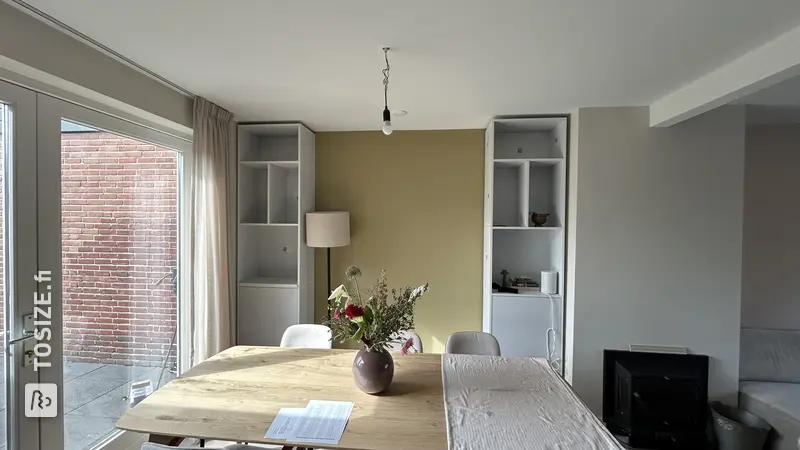
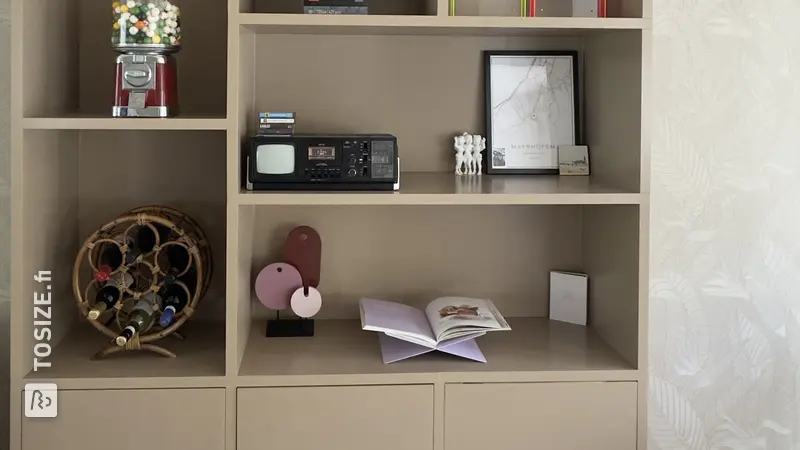
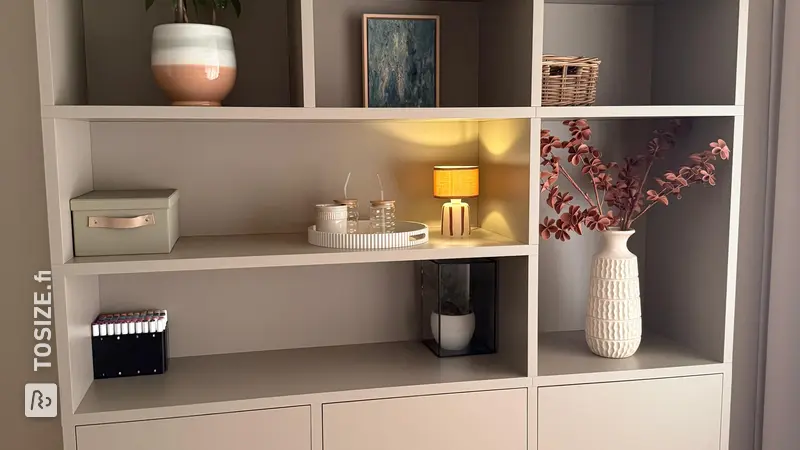
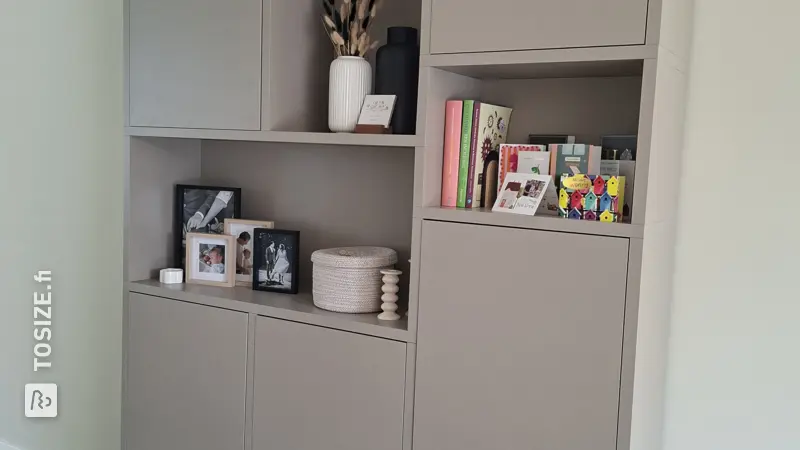
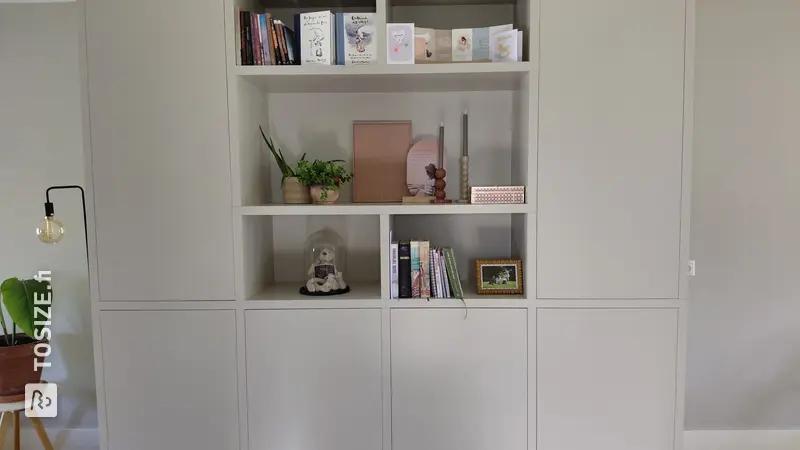
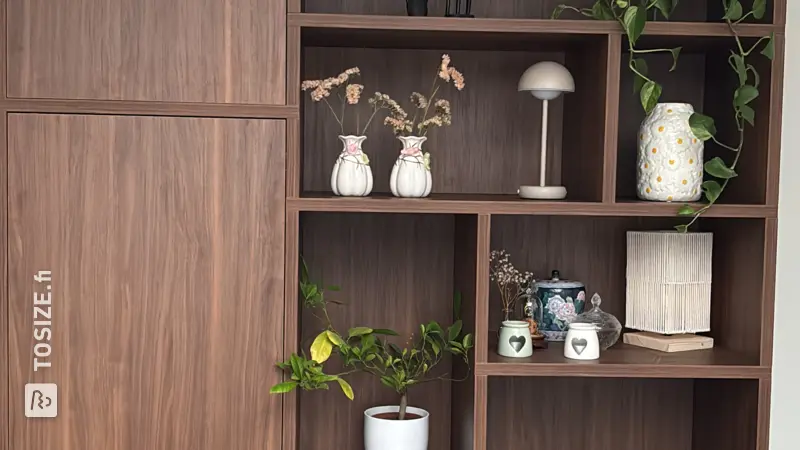
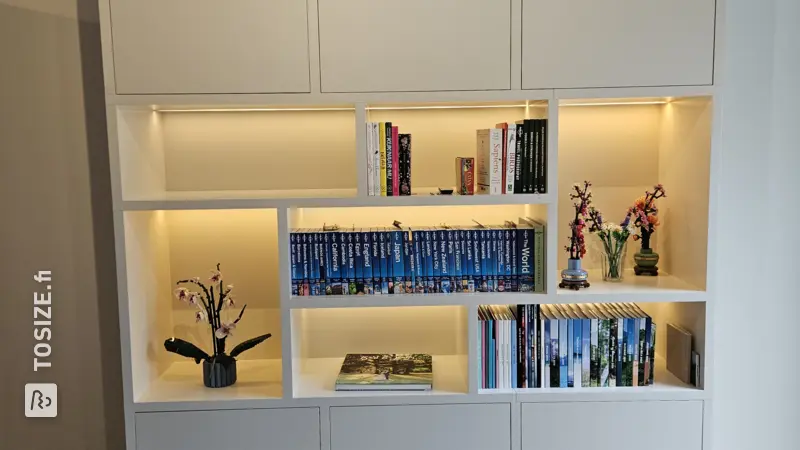
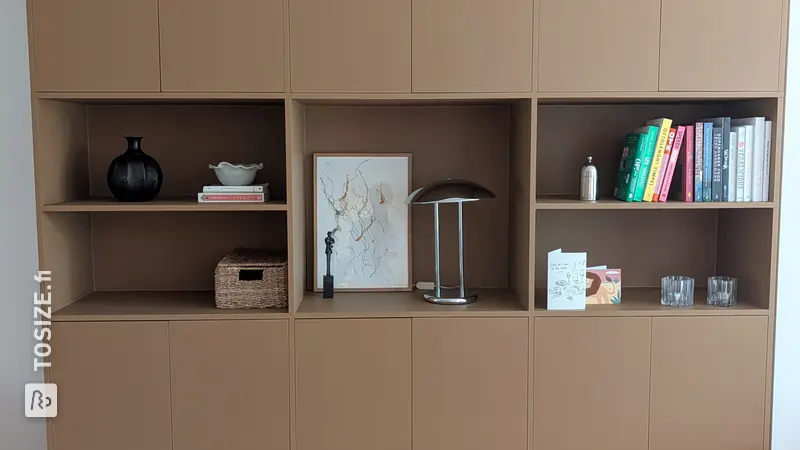
Because the cupboard is painted in the same color as the walls and ceiling, the cupboard completely blends into the space and Esther's wonderfully hysterical accessories pop. extra out! The color is Sculptura from Carte Colori.
Esther and Lars are very happy with the cupboard. They now have sufficient storage space for all office supplies and the open compartments really add something to the space in terms of atmosphere and styling.
Dimensions of my DIY project
445 cm wide, 234 cm high and 40 cm deep
Tip! Download our handy TOSIZE Furniture checklist!
What now?
Do you want to create this DIY project? This piece of furniture is part of our TOSIZE Furniture collection. Design your personalized, custom-made furniture using our 3D configurator! Want more information? Learn more about available colors, assembly, or browse all frequently asked questions. You’ll receive a TOSIZE Furniture package, including an installation kit.
4 663,00 €
All materials used
View all furniture