- TOSIZE.fi
- Do it yourself
- DIY Projects
Stylish TV unit with compartments, by Wes
Stylish TV unit with compartments, by Wes
Create this project yourself with sheet material cut to size by TOSIZE.fi!
Wes
Average
2 minutes
Design and Function
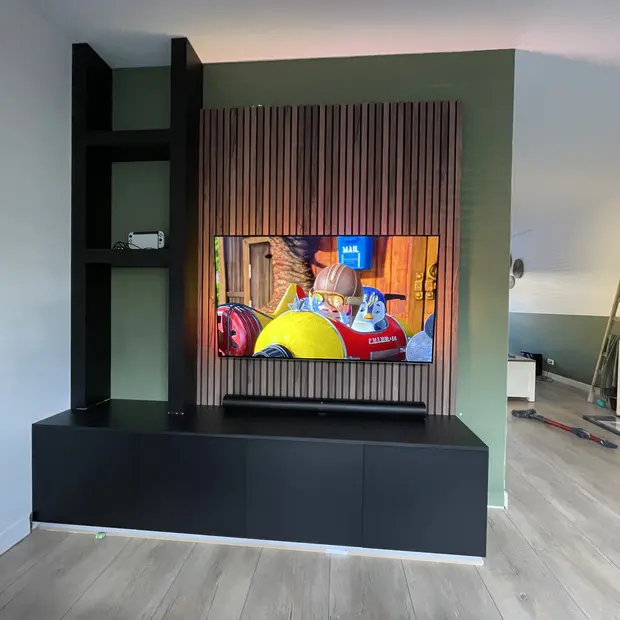
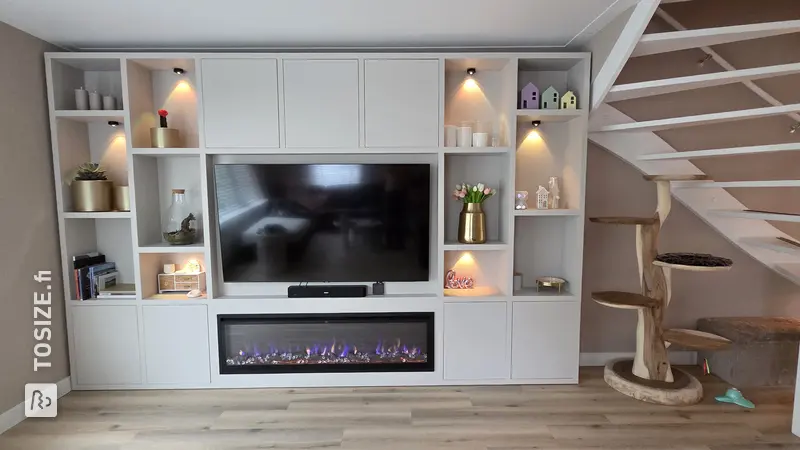
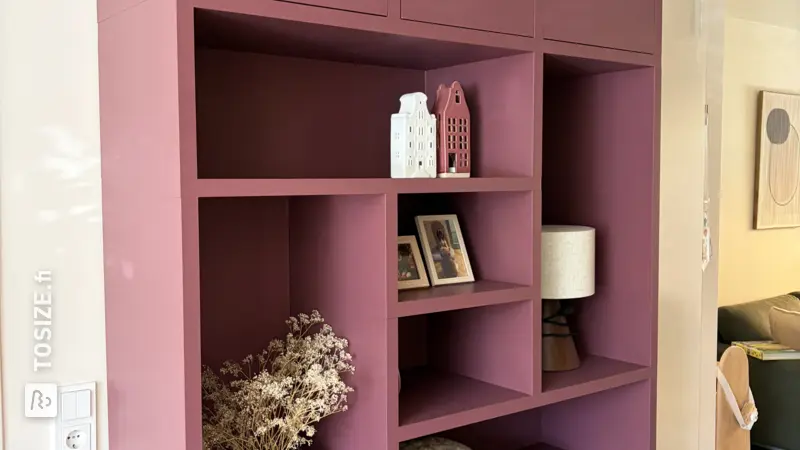
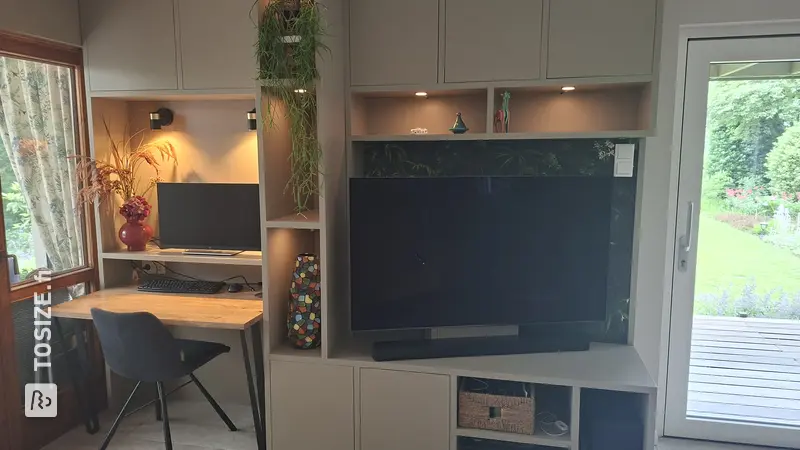
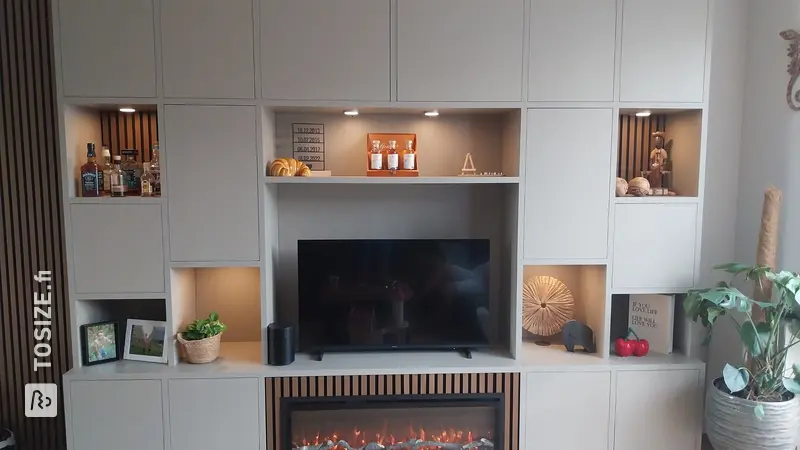
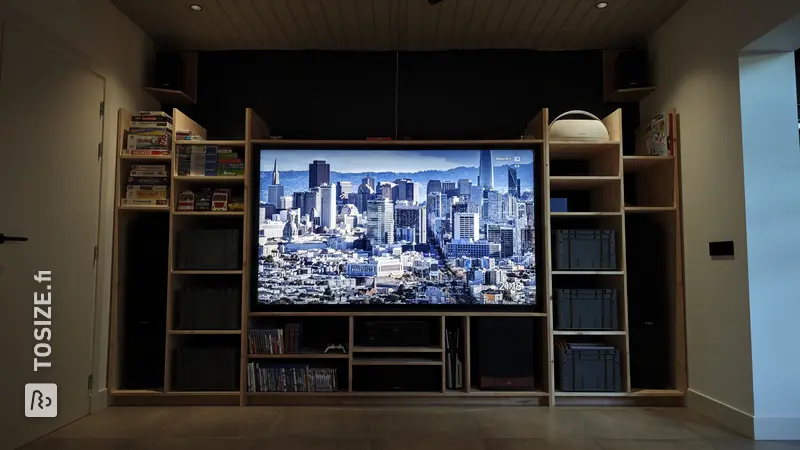
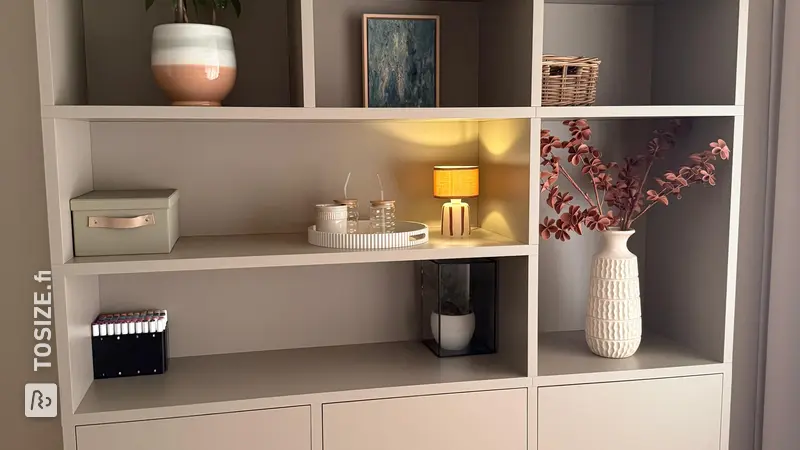
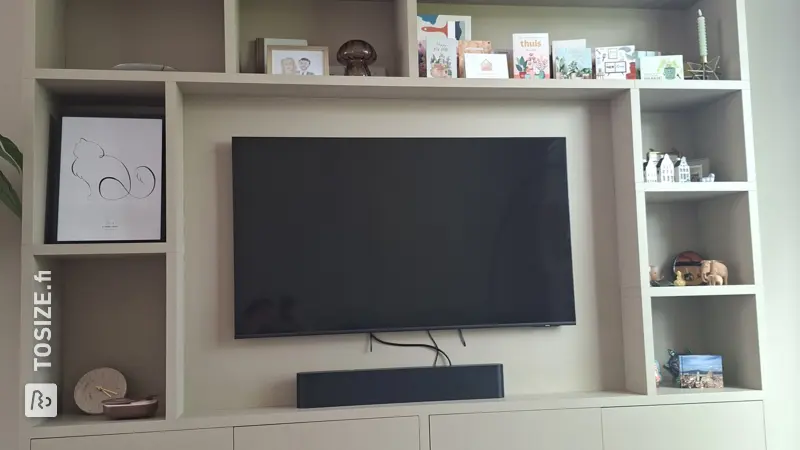
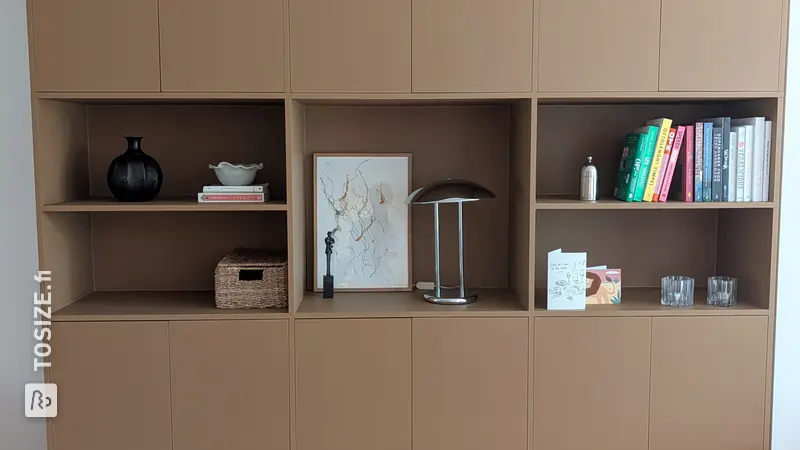
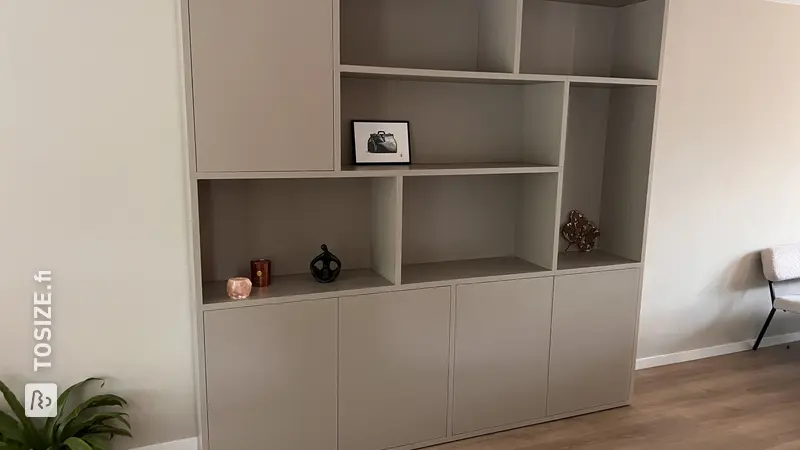
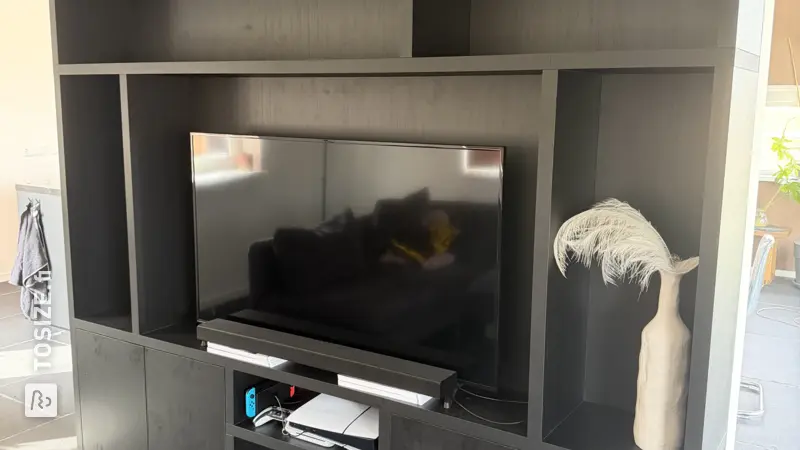
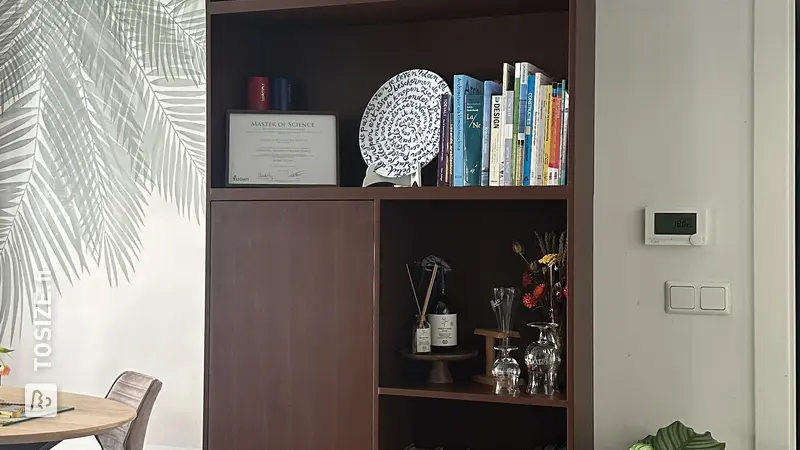
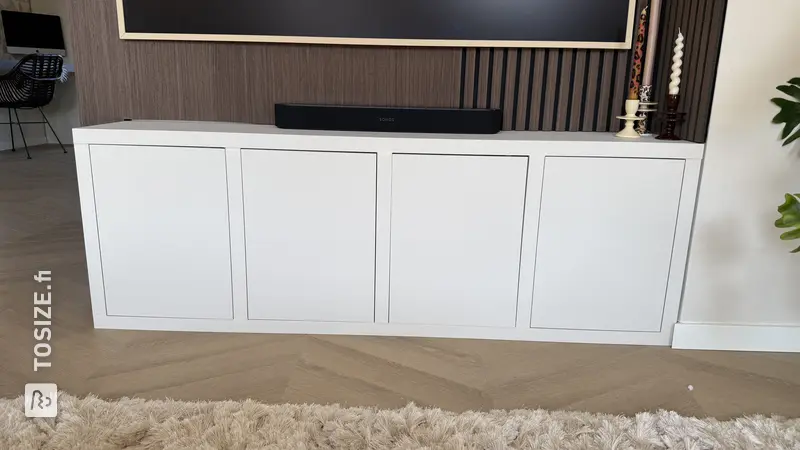
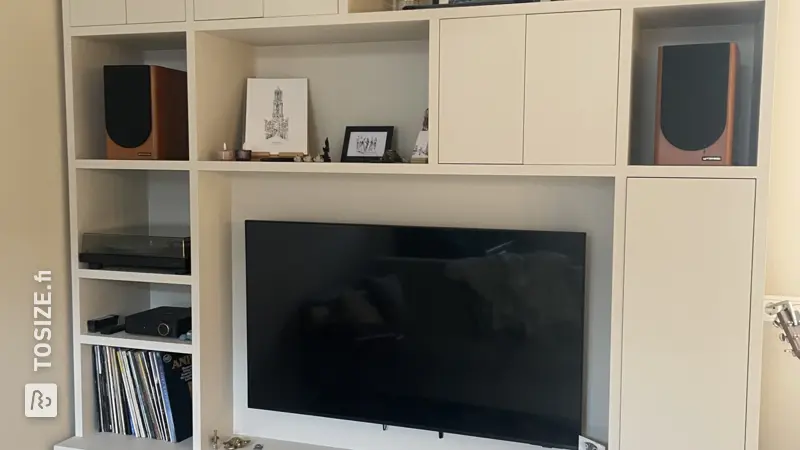
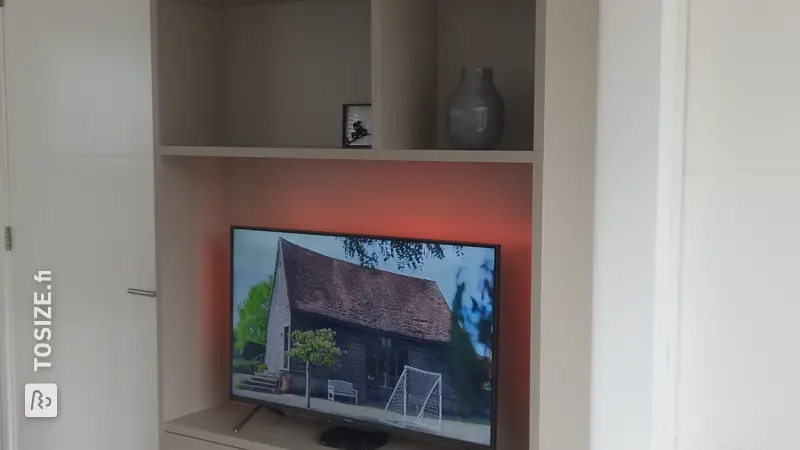
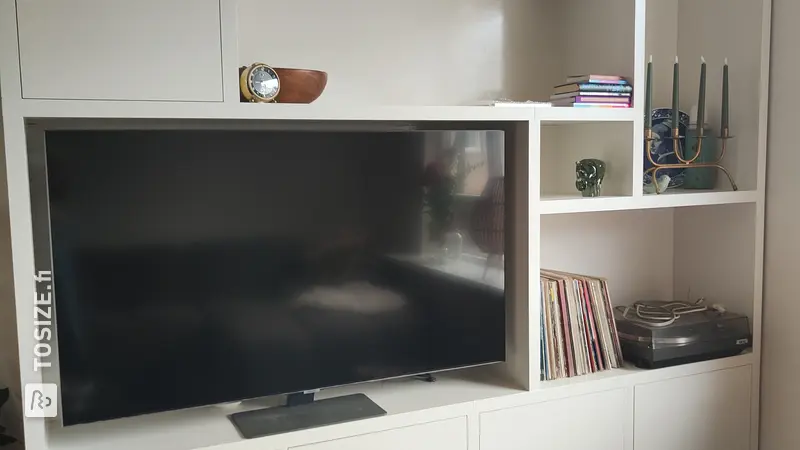
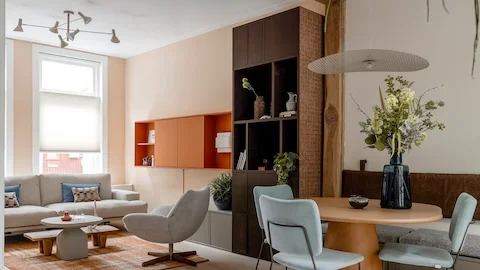
This beautiful DIY TV unit with an integrated shelving unit effortlessly comes into its own in any modern living room. Wes designed this custom solution to function not only as a TV unit but also as stylish storage space for books and decorative objects. Ideal for those who desire a sleek and organized look!
Structure and Materials
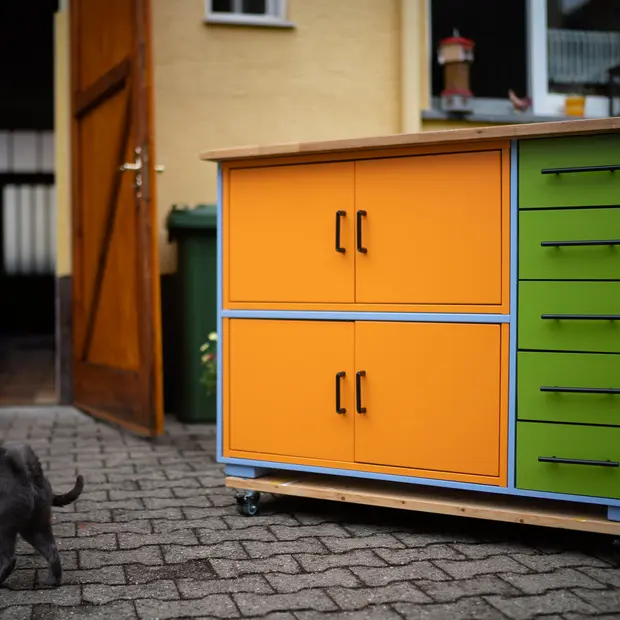
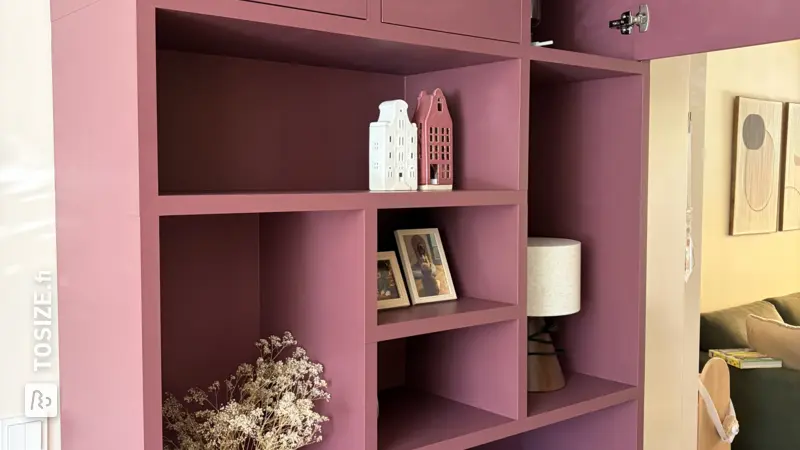
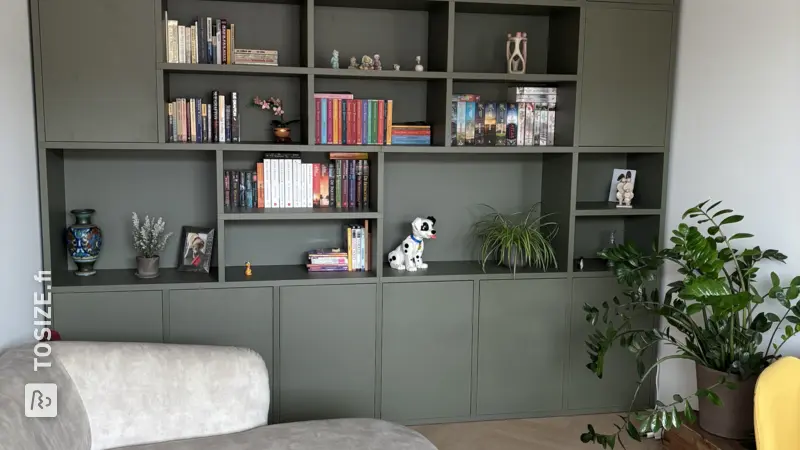
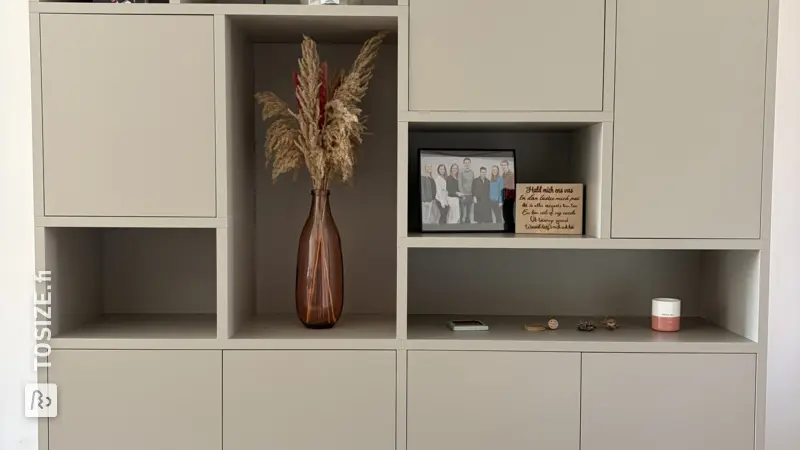
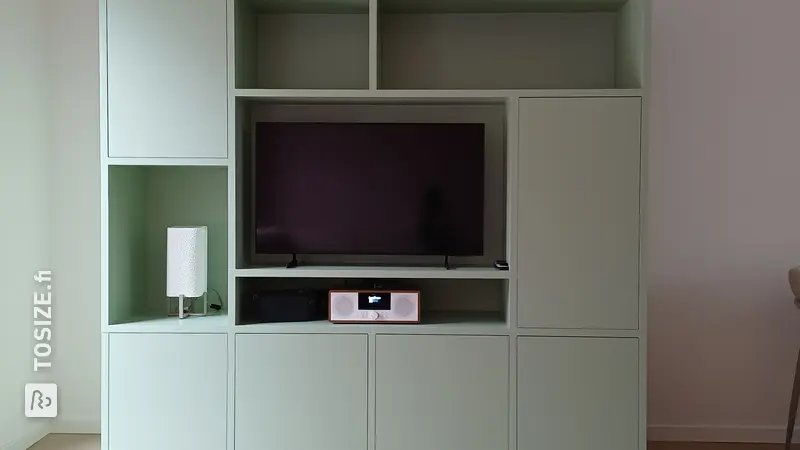
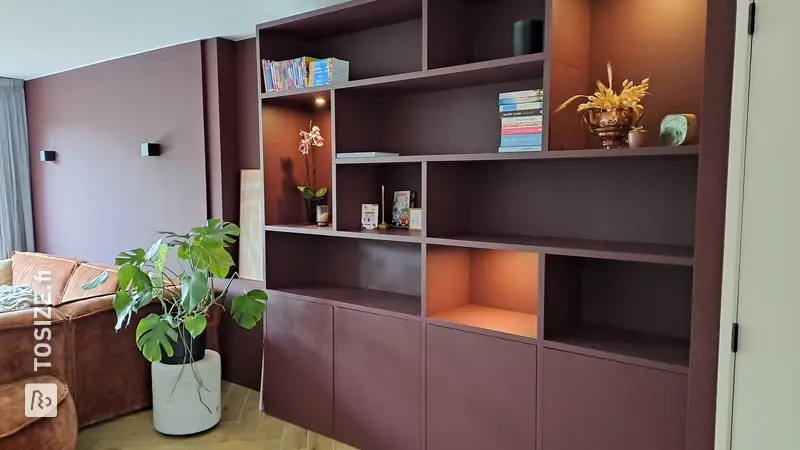
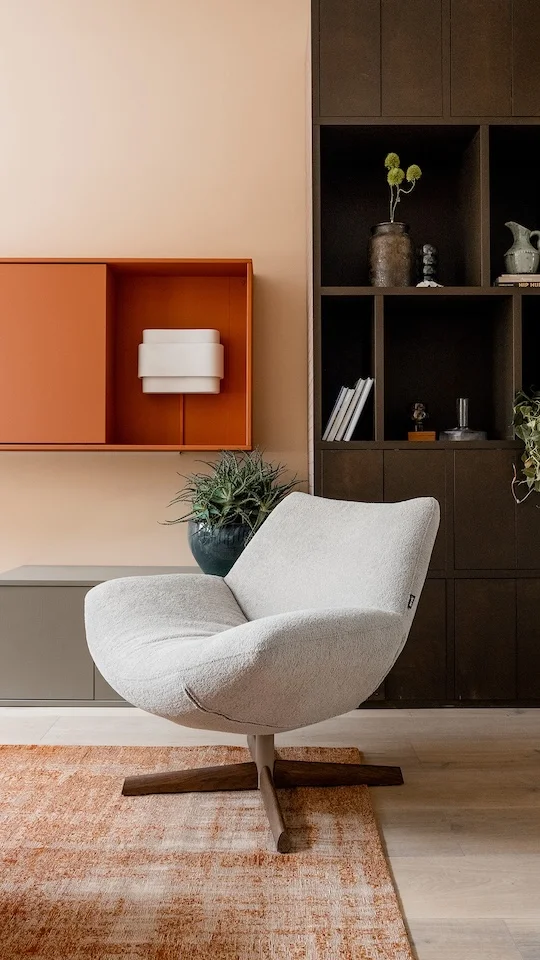
The furniture is constructed entirely from high-quality MDF Primed, supplied by TOSIZE.fi. The smooth finish and sleek design ensure that the furniture blends seamlessly into the living room. Thanks to the warm, mustard-colored finish, it adds a touch of color without overpowering.
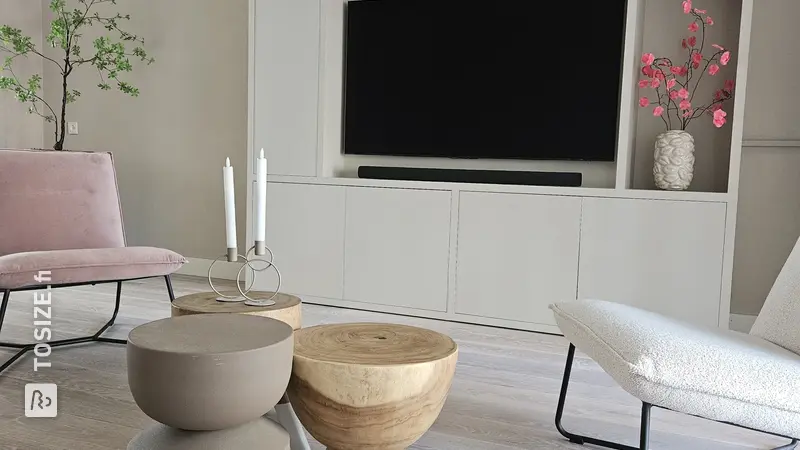
Placement and Benefits
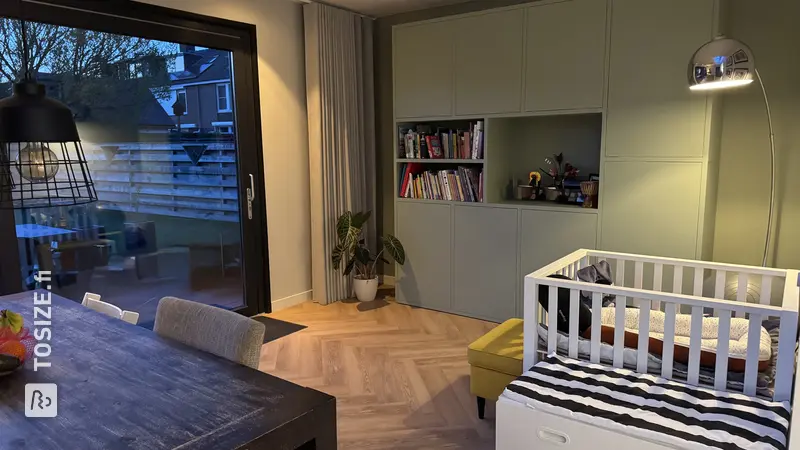
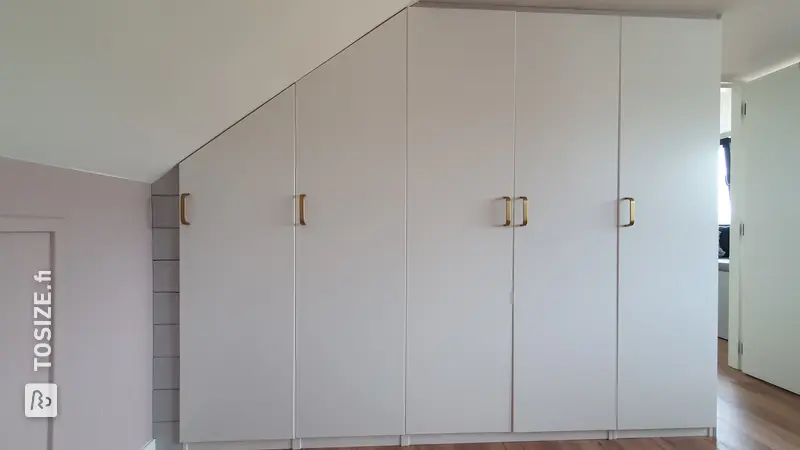
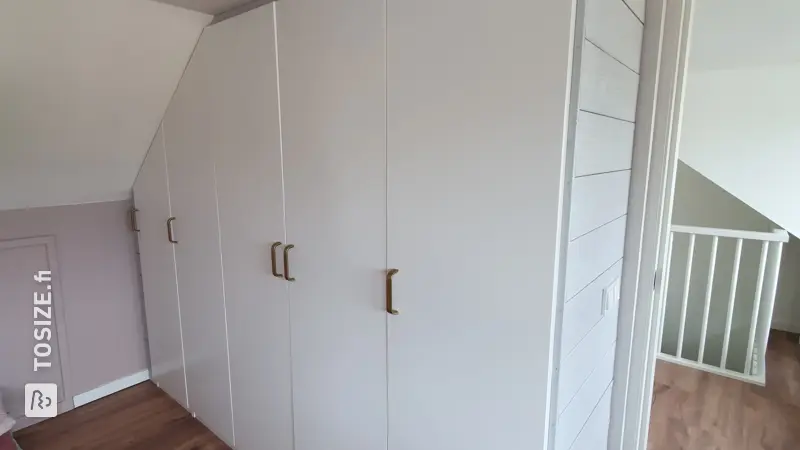
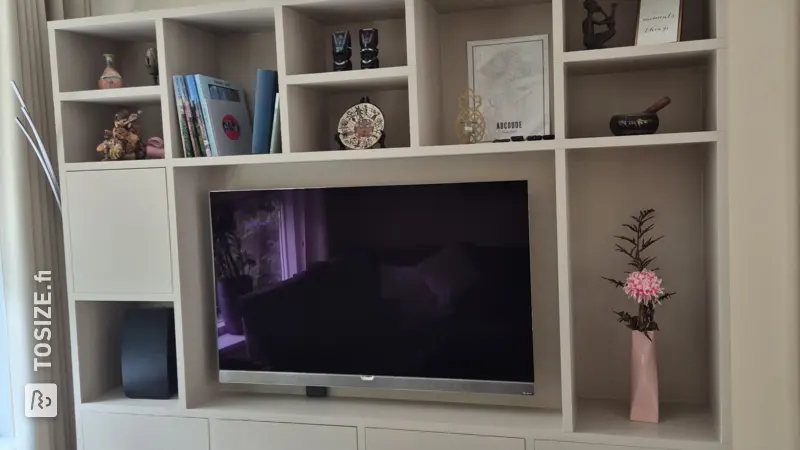
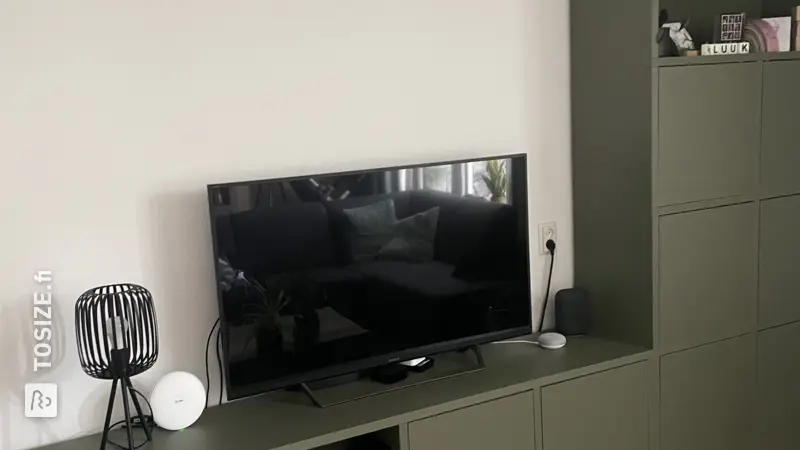
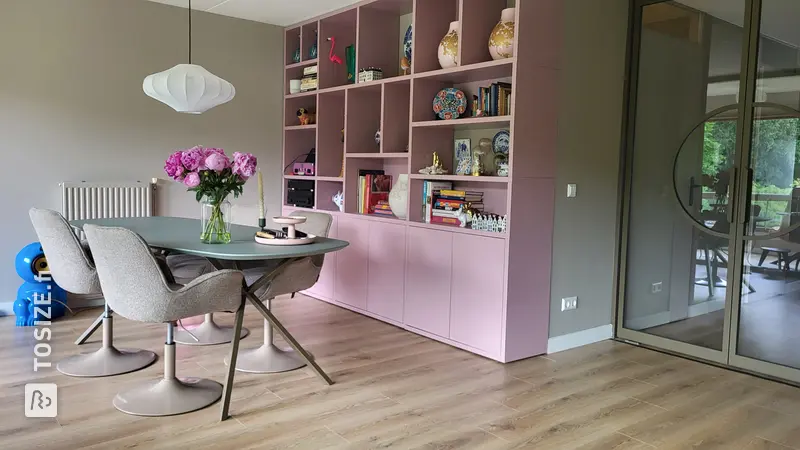
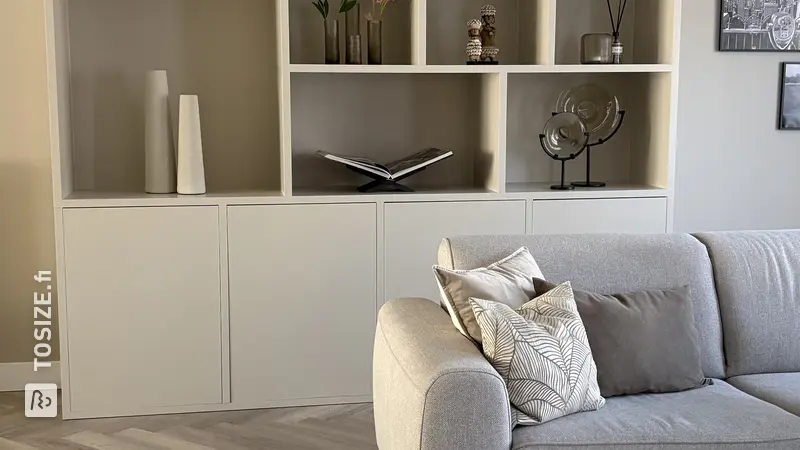
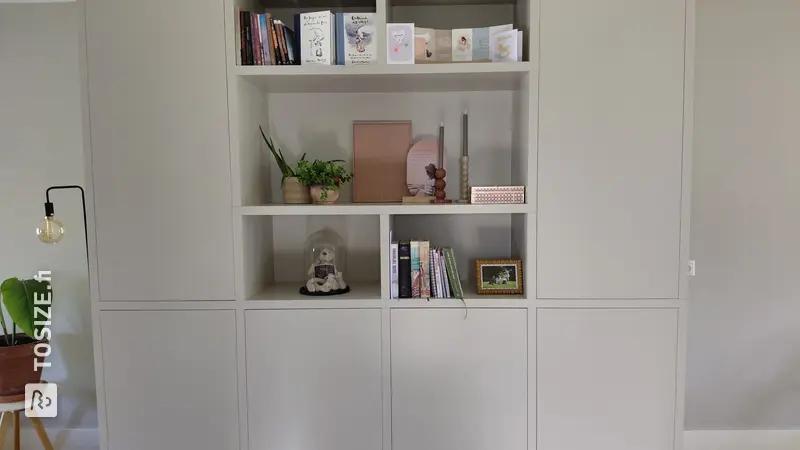
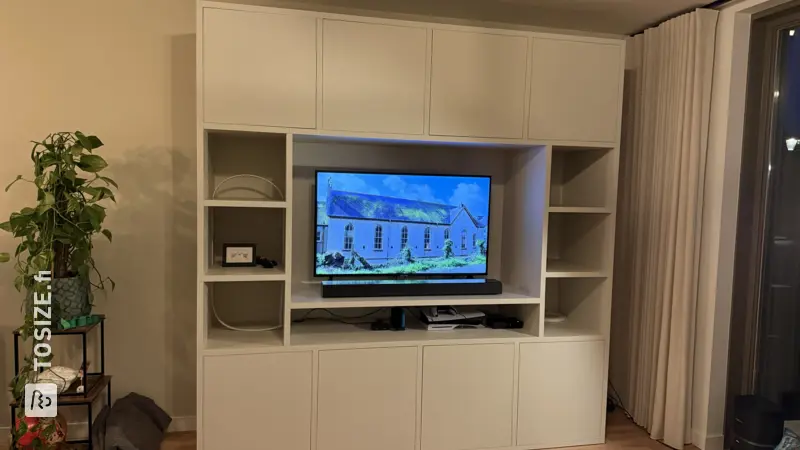
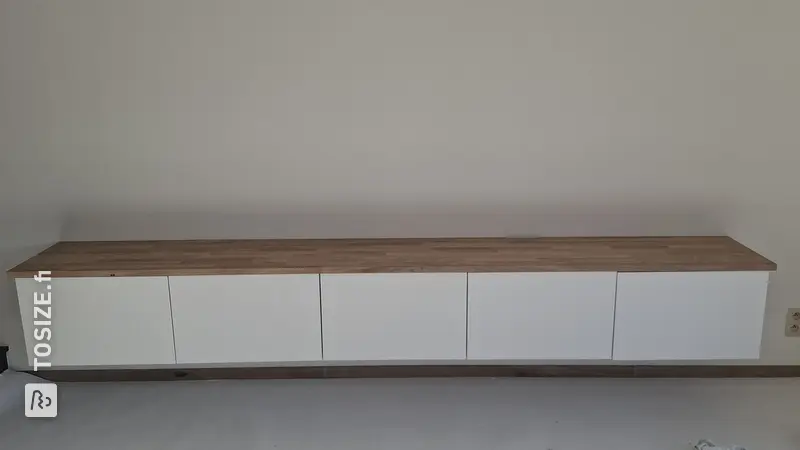
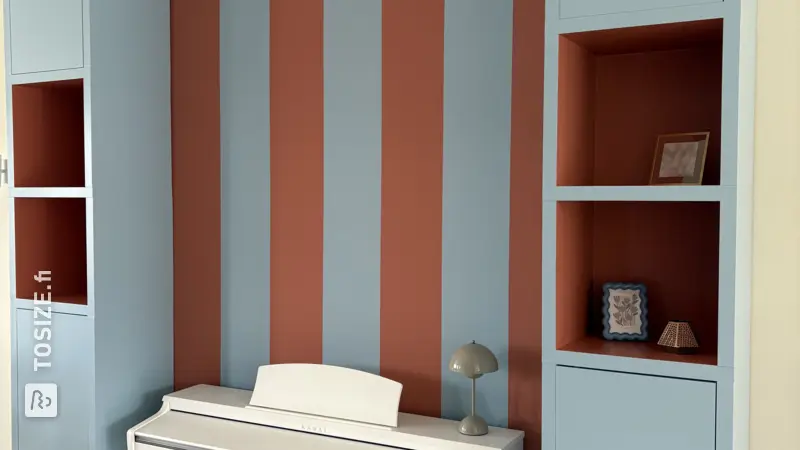
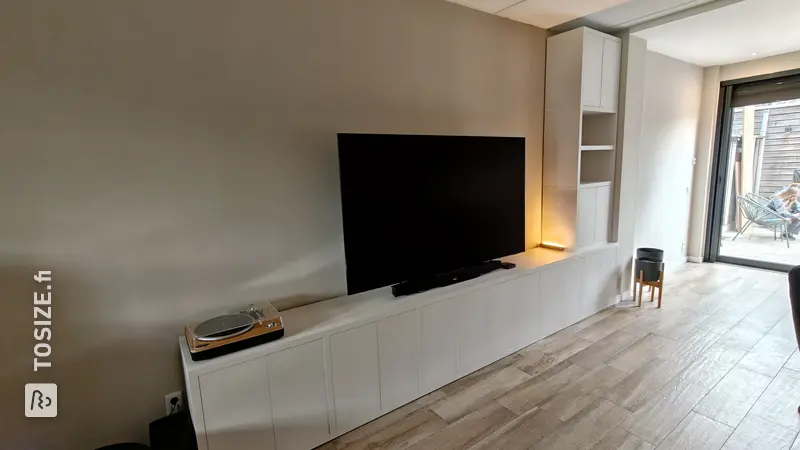
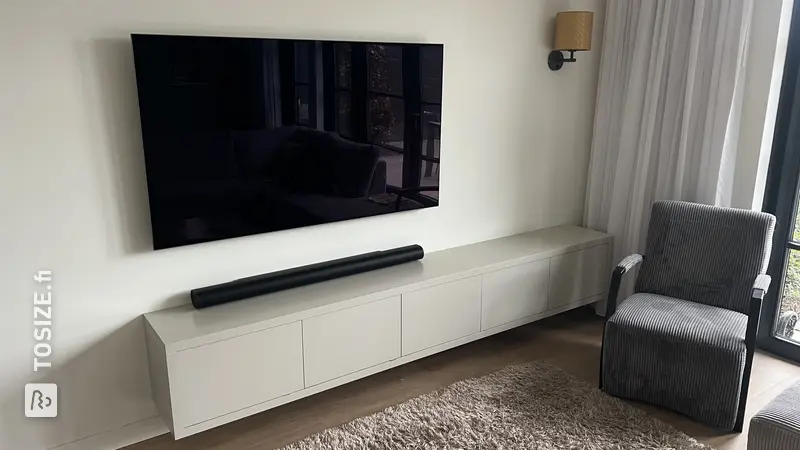
The furniture is designed to stand against a long wall in the living room, where it serves both a practical and aesthetic purpose. With multiple open compartments and closed doors, it offers versatile storage that keeps the space neat and tidy.
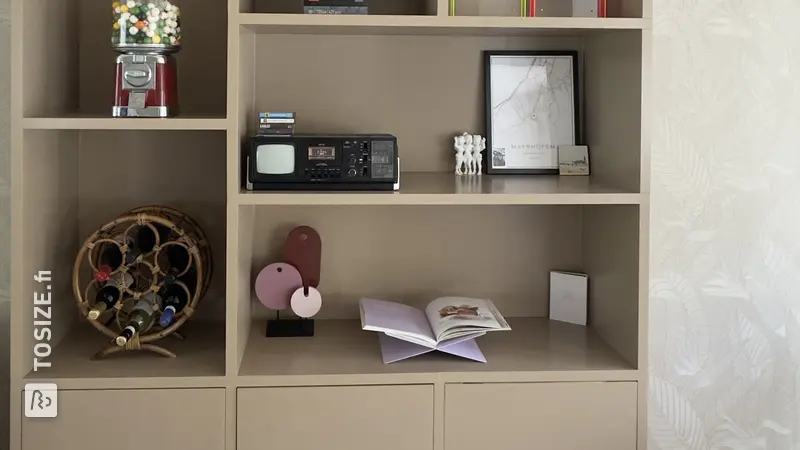
Unique Features
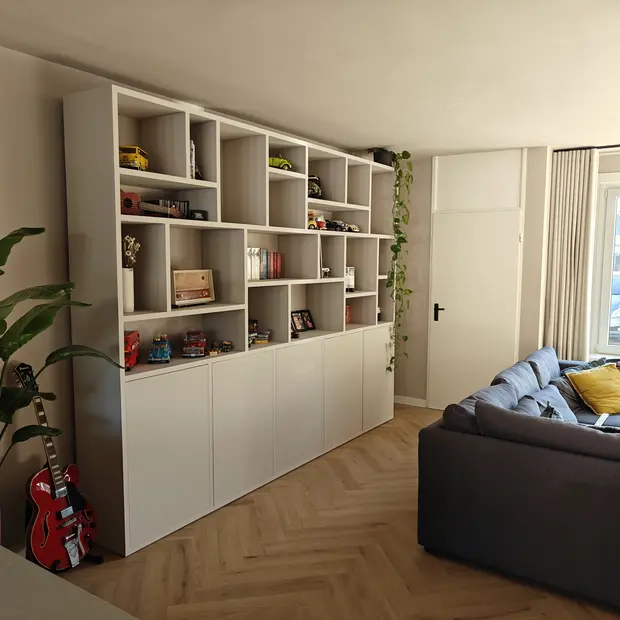
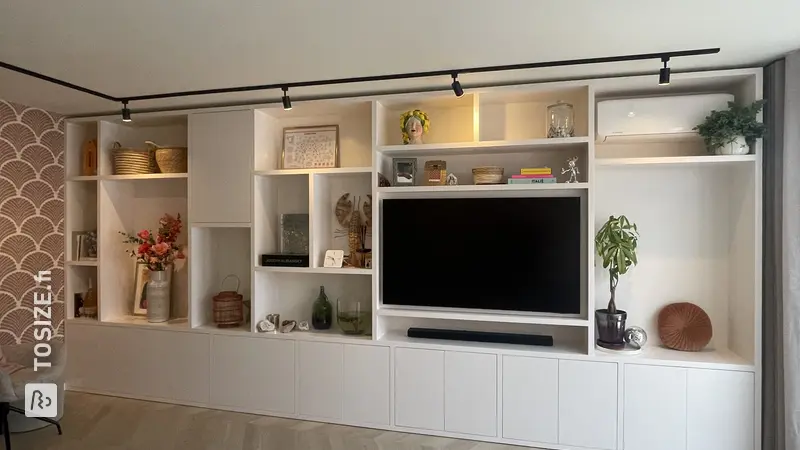
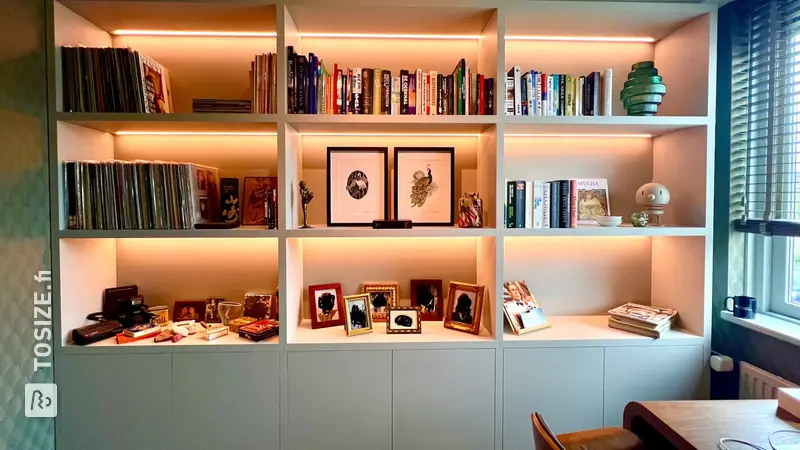
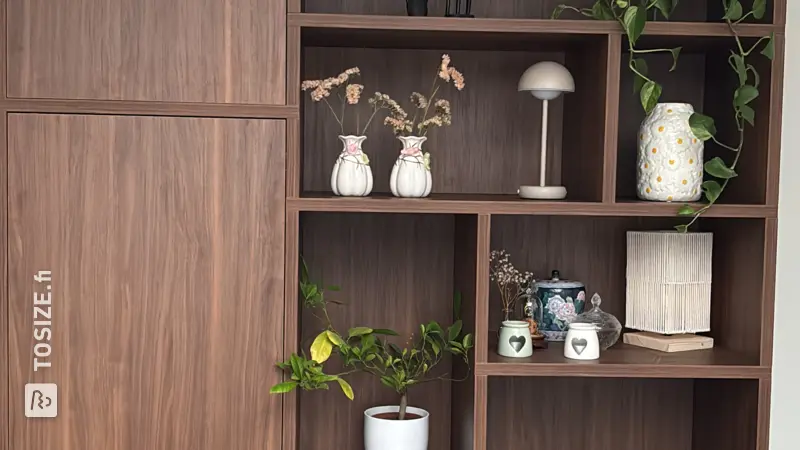
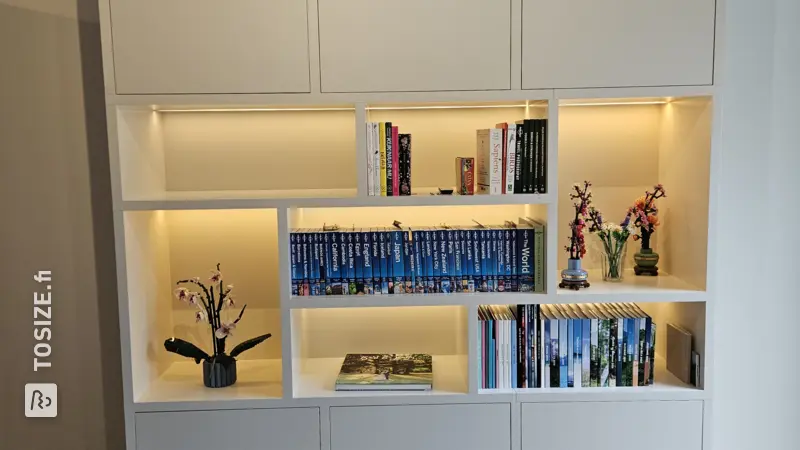
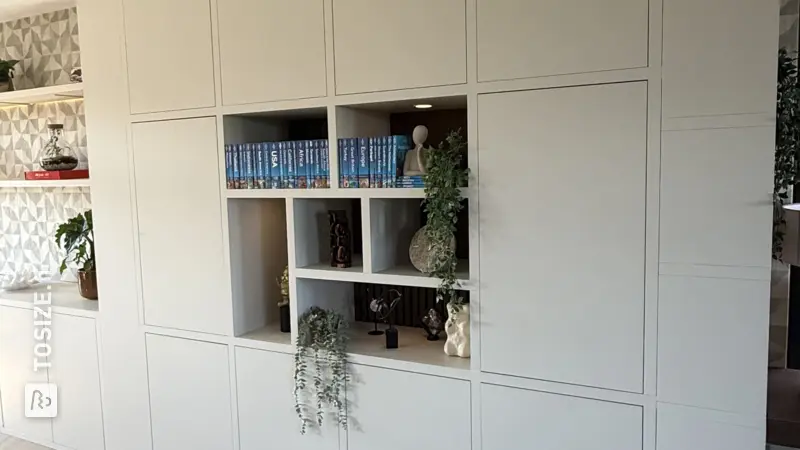
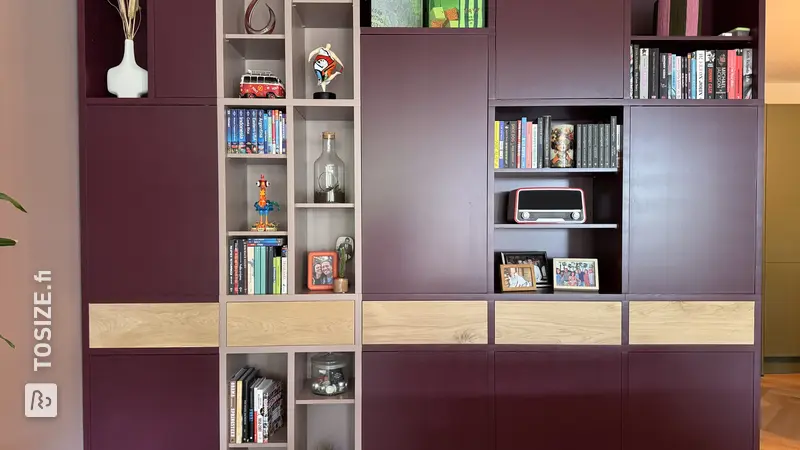
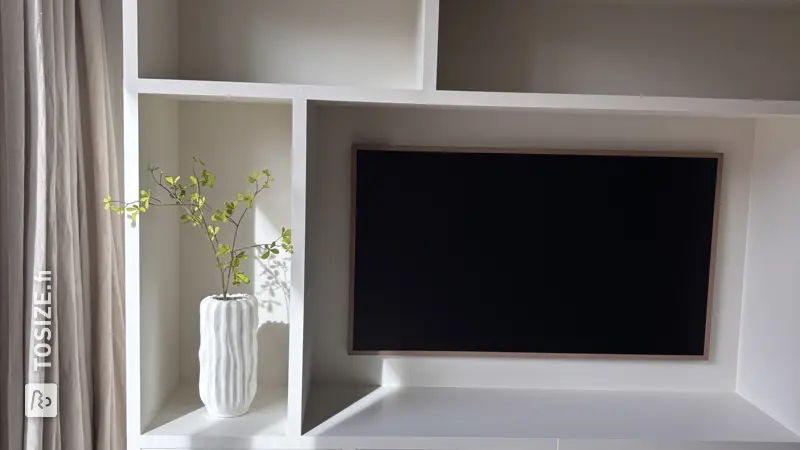
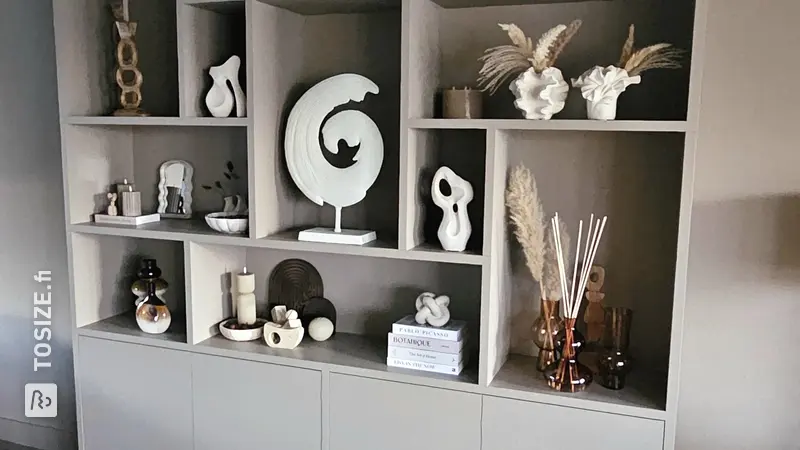
The shelving unit at the top is a true showpiece. It offers space for displaying decorations, books, or personal memorabilia, giving every room a personal touch.
Scandinavian Style
With its minimalist design and functional form, this TV unit fits perfectly within a Scandinavian style. The straight lines and the use of light-toned wood enhance the sense of space and tranquility in the room.
MDF Primed
MDF Primed is ideal for a sleekly finished piece of furniture. The material is very smooth, which ensures beautiful coverage and a uniform color when painted. This makes it perfect for DIY projects where a refined finish is desired.
Tips from the Expert
Use a good quality primer and paint for MDF to extend the lifespan of your furniture and ensure a professional finish. MDF is sensitive to moisture, so make sure the furniture is placed in a dry location.
With free choice of sizing and materials, TOSIZE.fi offers you all the freedom to realize your dream project, without compromise!
Tip! Also check out our handy DIY tips!
Step by step guide
Preparation
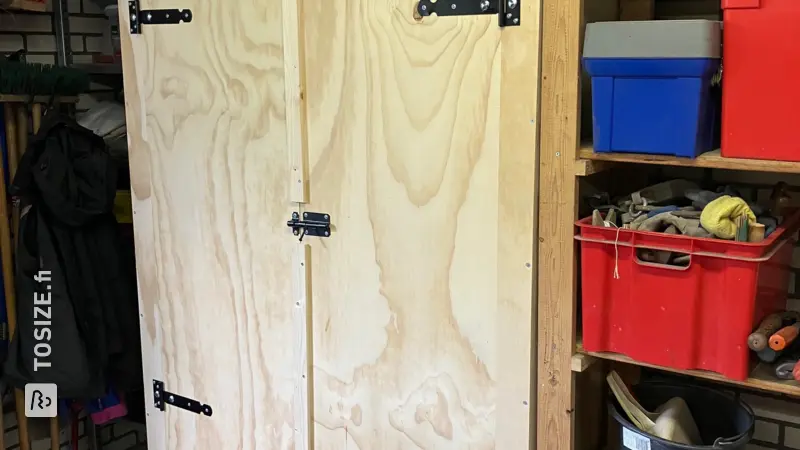
- I went to a store and measured the details of cabinets we liked. I created a design in a 3D CAD program (FreeCAD) based on an Excel spreadsheet. Once the design was to our liking, I used the Excel spreadsheet to create the cutting list. I made a 2D drawing showing the relevant dimensions. I pre-ordered the hinges and fitted them onto scraps.
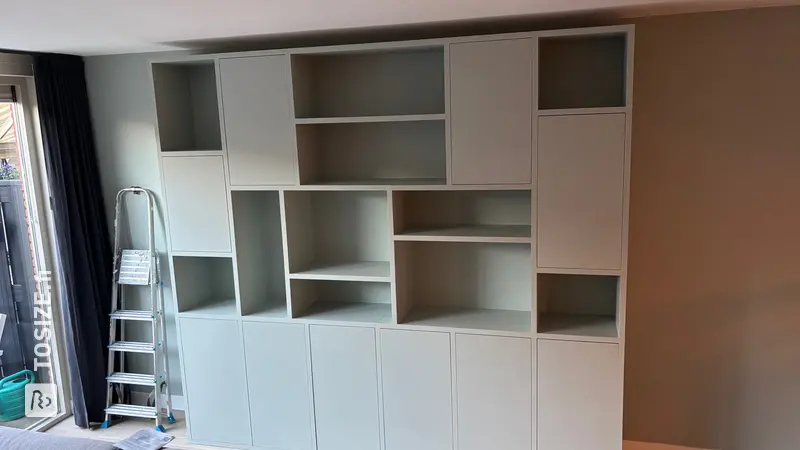
Montage
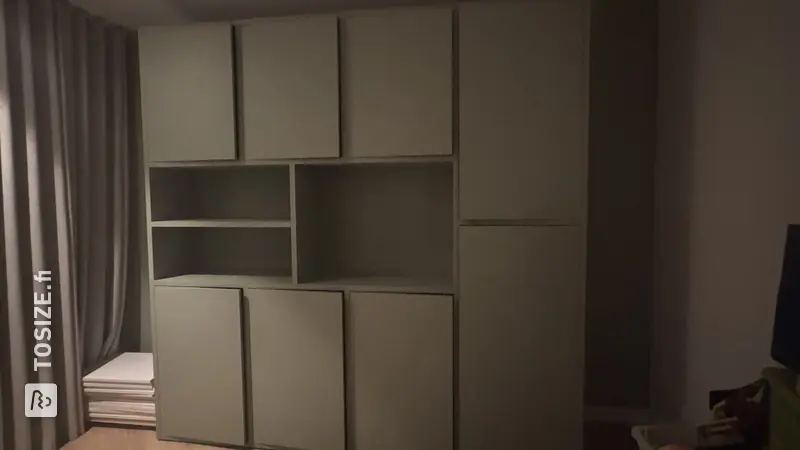
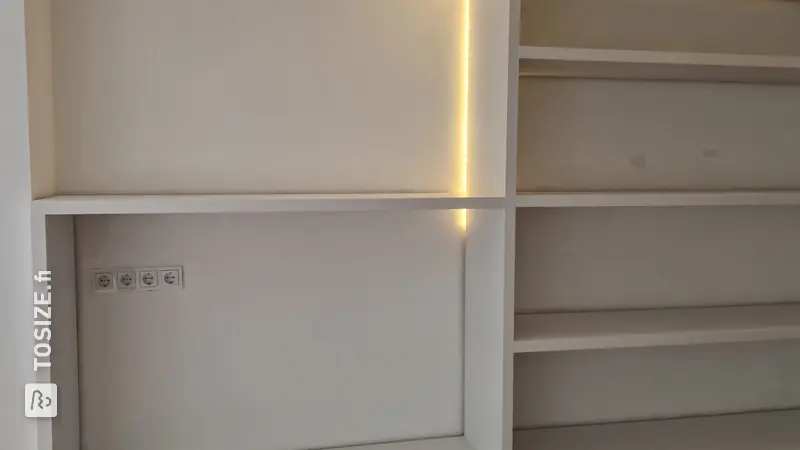
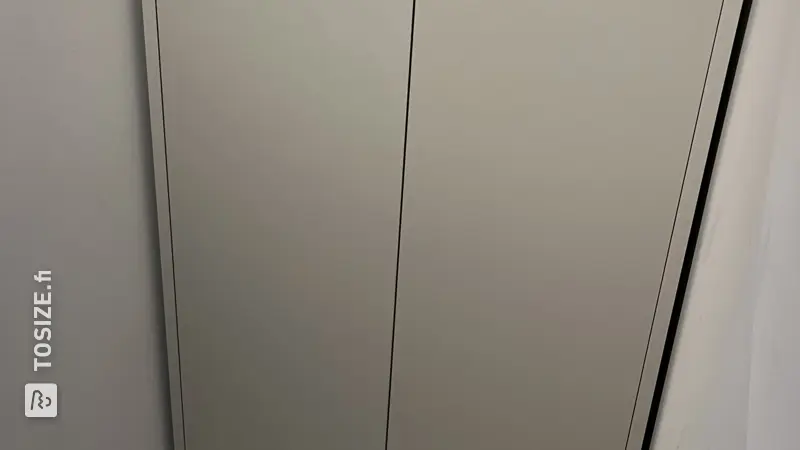
- I constructed a frame using 44x44 spruce beams and adjustable feet. I started in one corner and screwed the first three panels onto the frame as perpendicularly as possible. Then I continued building. I built the tall section separately and lifted it into place. I routed handles into the doors. I sometimes used dowels, but mostly screws and glue.
Finish
- There were a few screw holes that needed to be filled. On some pieces, I used filler to smooth out the seam or transition. I sanded the front sides and applied MDF primer. Then I applied the paint in 3 coats. I have the impression that the adhesion between the paint and the primed MDF panels is not entirely good. I therefore recommend testing this yourself.
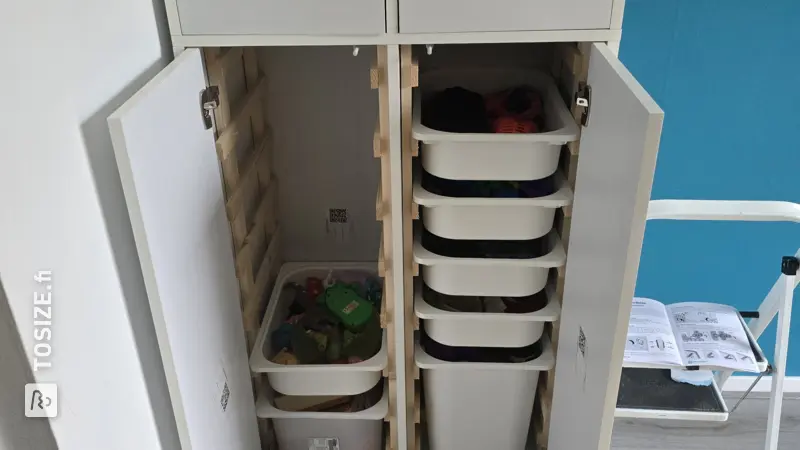
- Catching the cupboard doors was easy. After that, we could organize the cupboard.
What now?
Want to make this DIY project? Check out Wes's saw list and complete your order easily.
1 023,36 €
View all sheet materials
My experience with TOSIZE.fi
Order
Delivery
General experience